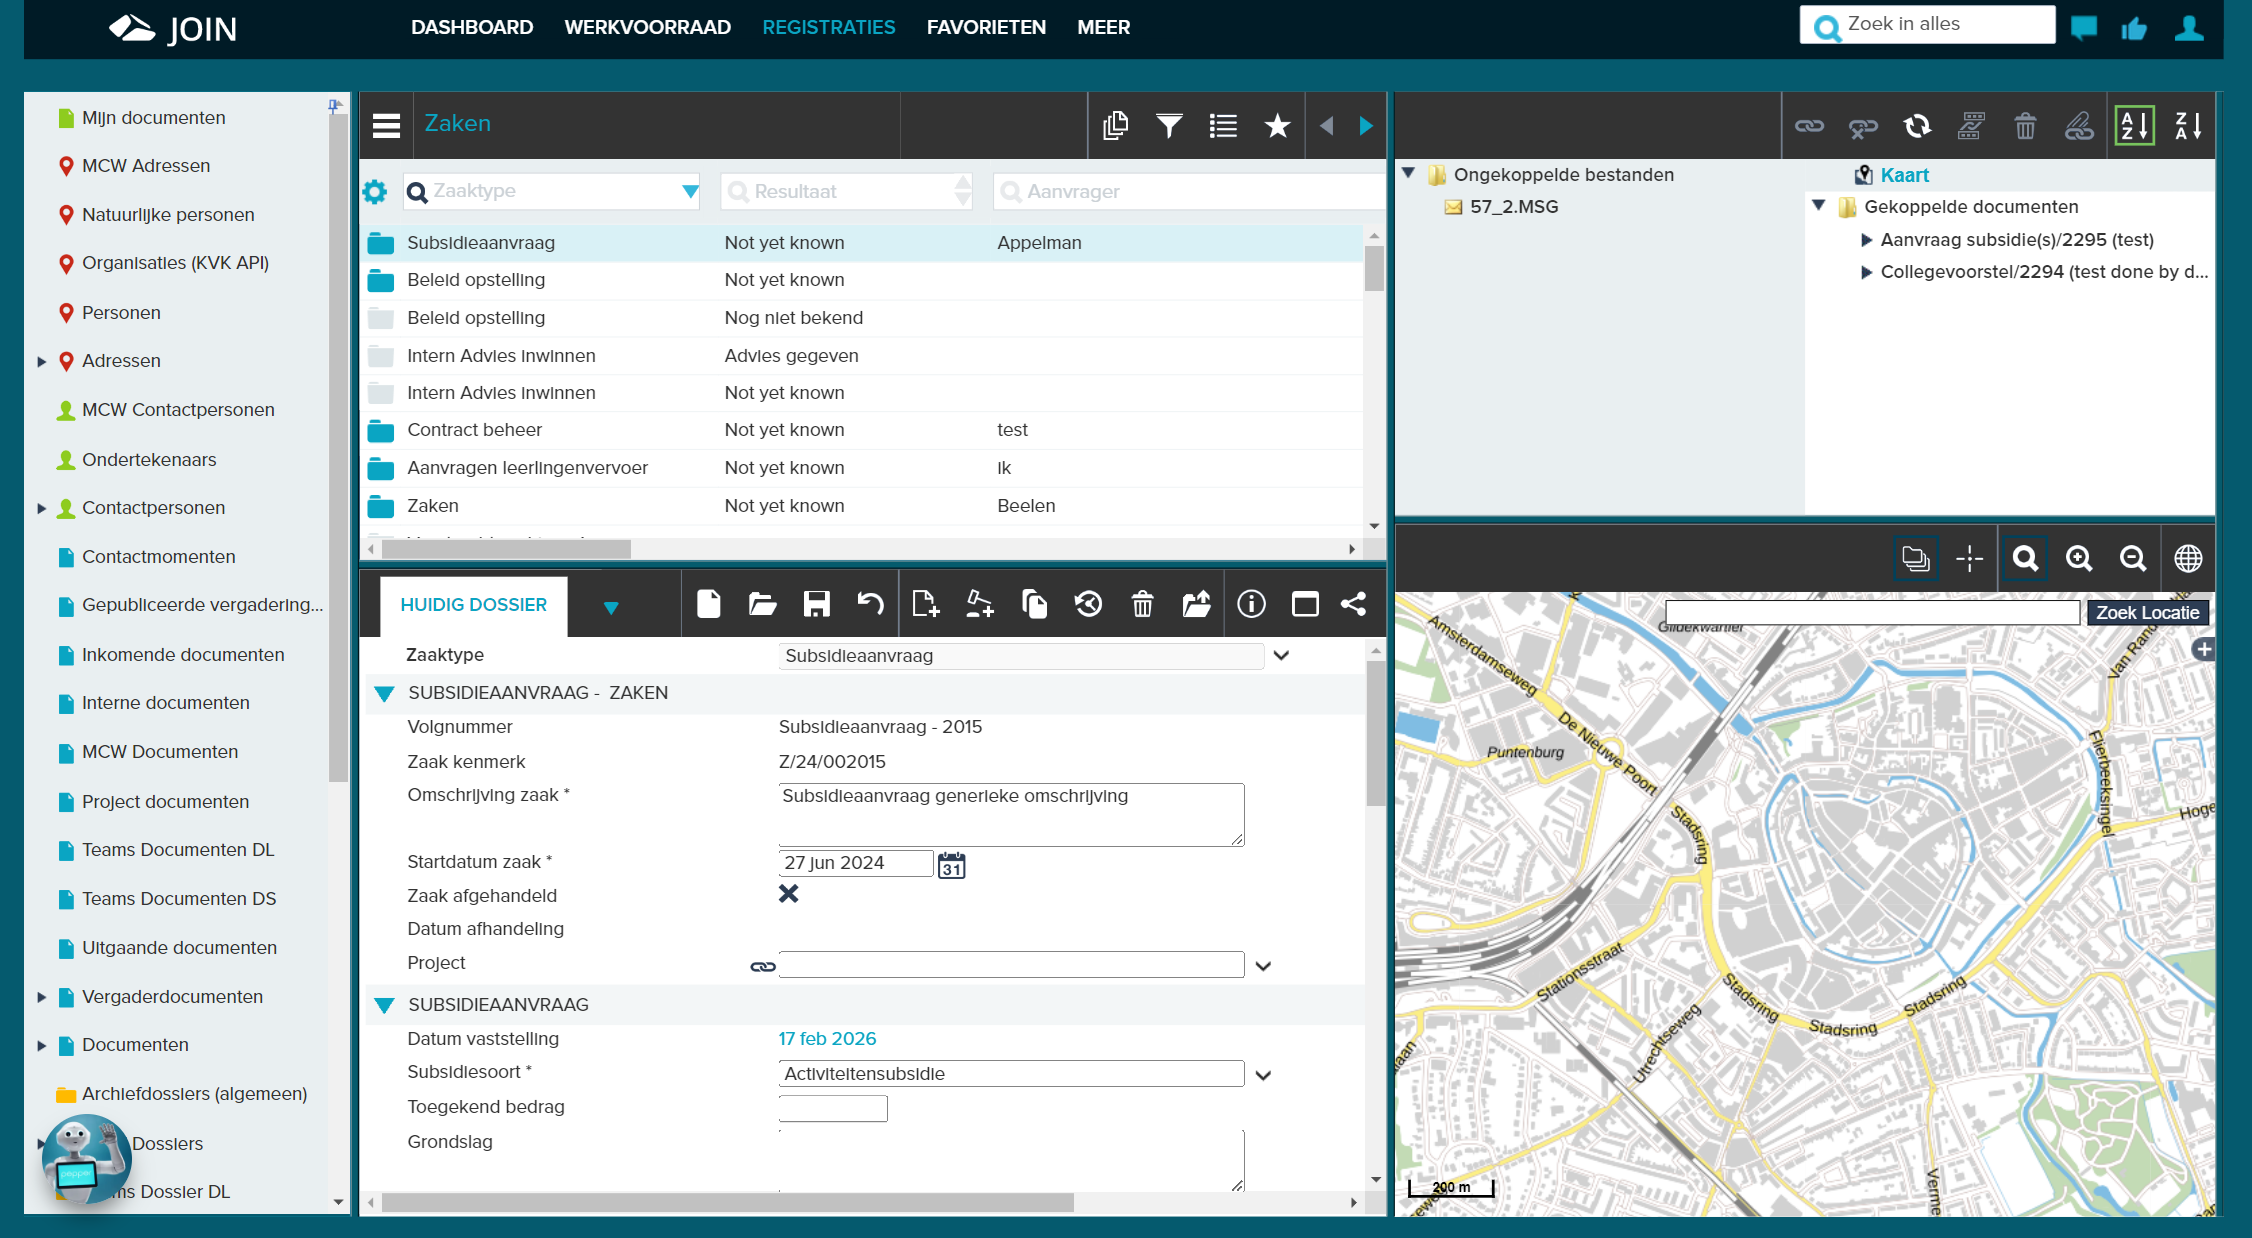
¶ Registrations
In the “registrations” section you can register cases, documents, addresses, etc. and you can look up existing cases, documents etc. and view, change and enter their data.
The registrations section consists of 3 parts:
- The structure/menu
- The list
- The form (or input screen)
¶ The structure/menu
The structure (the menu) consists of several objects. By default these are “addresses”, “contacts”, “documents” and “dossiers”. If you use Zaaktypen.nl, you also have access to the object “cases”. Finally, the object structure can be further expanded with “Meetings”, “Projects” and “Objects”. For more information about Zaaktypen.nl as well as these extra objects, please contact decos. For more information, you can also visit the Decos website
¶ The list
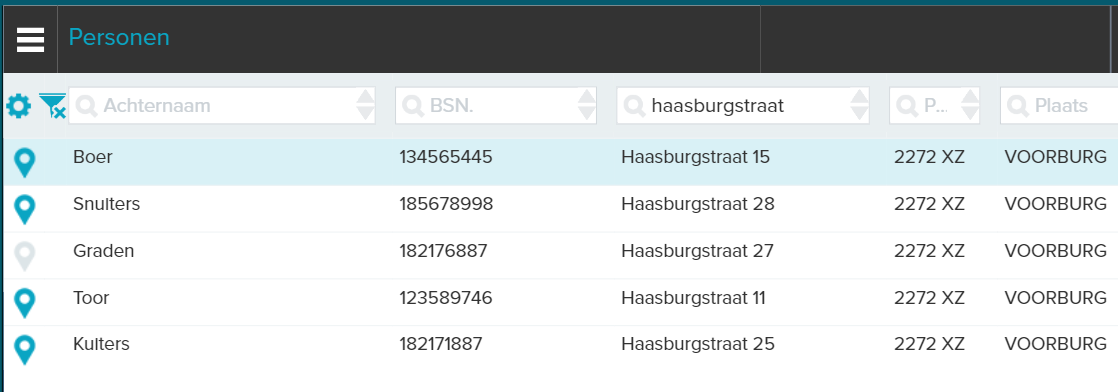
In the list we show the content of a selected book / collection from the menu, for example: cases, contacts or incoming documents. Via the gear icon you have the option to change the layout per collection to your own taste. You can also search for the correct registration(s) per collection using the filters.
If you work in a case-oriented way using zaaktypen.nl, we will show the list of case types in the first column by default. You can use the magnifying glass to search for the correct case type based on additional elements.

The content is displayed per column. The column can be sorted (e.g. by last name) according to your preference by clicking the up arrow (low-high order) or down (high-low order) in the field. If the content of a book or a search consists of several pages of search results, you can browse through it by using the arrows (< and >) at the top right of the frame (pagination).
The following function buttons are located in the top right-hand corner of ‘the list’:
| Button | Function |
|---|---|
 |
Advanced search within a registration |
 |
Request an overview of the content of the selected book |
 |
Search for a contact person by company name |
 |
RSS link to this registration |
 |
Add the book / subbook to your favorites |
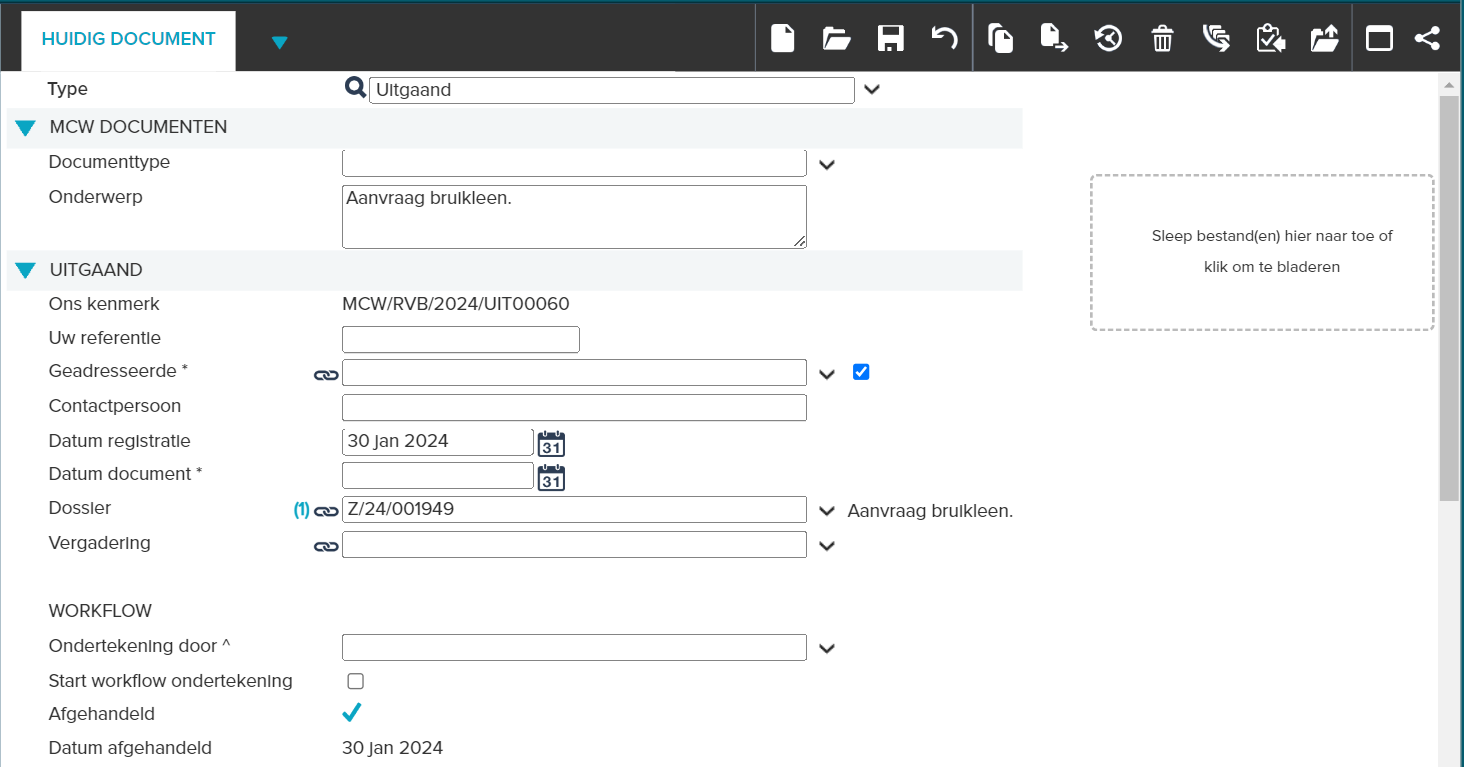
¶ Form
In the form you will see the details of the registration you’ve selected from the list:
In addition to the form, extra information is shown under tabs (additional information, comments, linked addresses, activities and files, etc) They can be seen under the drop-down arrow. Move your cursor over the arrow to display it. By means of color scheme (gray vs black) and a number / paper clip it becomes clear which extra data is available.
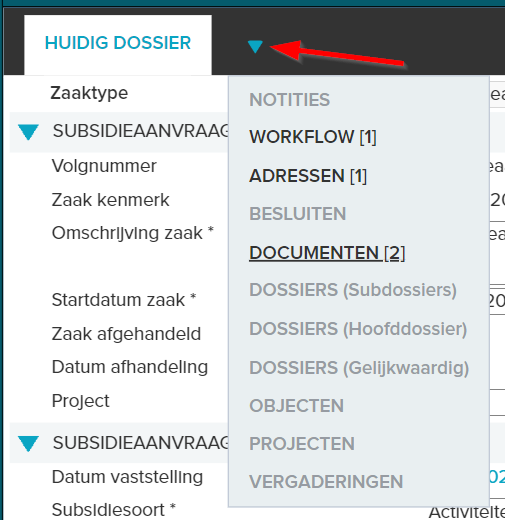
On the other hand, if you click on the drop-down arrow, you will be taken directly to the most relevant tab per object. You can recognize this tab by the underline.
In addition to these functions, there are other function buttons in the registration screen that are visible depending on your personal settings. The other function buttons and their functions are shown below:
| Button | Function |
|---|---|
 |
Create a new registration |
 |
Save the filled out form |
 |
Opening the linked file (or multiple files) |
 |
Cancelling the entry |
 |
Copying data from another registration |
 |
Moving the registration |
 |
Printing the registration information |
 |
Show the change history (history) of the registration |
 |
Send an e-mail with this registration and / or linked files (this function can be found behind the share button) |
 |
Open the file viewer (or open the file when 1 file is attached) |
 |
Check out registration |
 |
Delete the registration |
 |
Create a letter with standard template |
 |
Adding a label to the file |
 |
Open agenderen.nl (only available with module “agenderen.nl” from a meeting) |
 |
Show the location of the object |
 |
Copy shortcut to this piece on the clipboard (this function can be found behind the share button) |
 |
Hide frames |
 |
Show frames |
 |
Show metadata for this book |
 |
Share function (download, email, print and shortcut) |
 |
Download files |
.png) |
Start a collaboration in JOIN Collaboration (Decos cloud solution) |
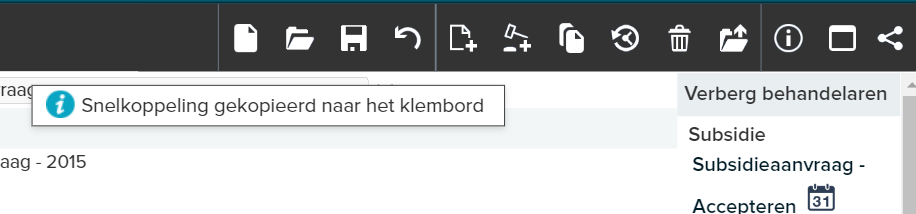
When you click on the button “create shortcut”, the shortcut to the registration (eg a case or document) will be copied to your clipboard, so that you can easily paste it in, for example, an email:
If you do not see certain function buttons, you may not have sufficient rights. Please contact your local administrator for this. By default, we immediately display the 4,8 or 12 function buttons you use most often (see also personal settings). We show the other function buttons behind the … icon.

The different objects (addresses, contacts, documents and files) are further explained in this wiki. Follow the link below!
¶ Sharing registrations via email
Via the “share” button ( ) you will reach the option to send the registration by mail. In the ensuing pop-up, choose the “email” option to send an email from JOIN Case & Document. You can use the same function in the work list.
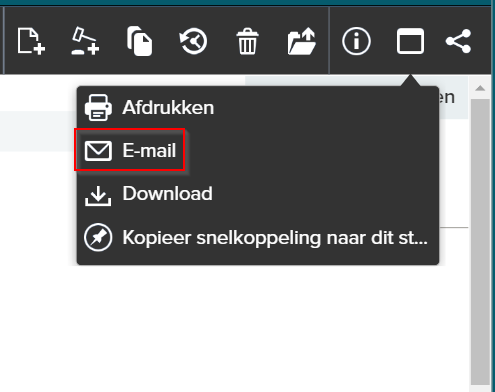
When you click on the “email” button, the screen opens where you can start sending the email. Here, you have the following options:
- You can enter a recipient (TO, CC en BCC)
- You can choose to receive a copy of the email (at the email address you have registered in JOIN)
- The subject of the email is automatically pre-filled (name of the registration/collection/sequence number. You can alter this if you wish.
- At “data” you can indicate which data must be sent along with the email (all registration data/just subject and sequence number/link to the registration/no data)
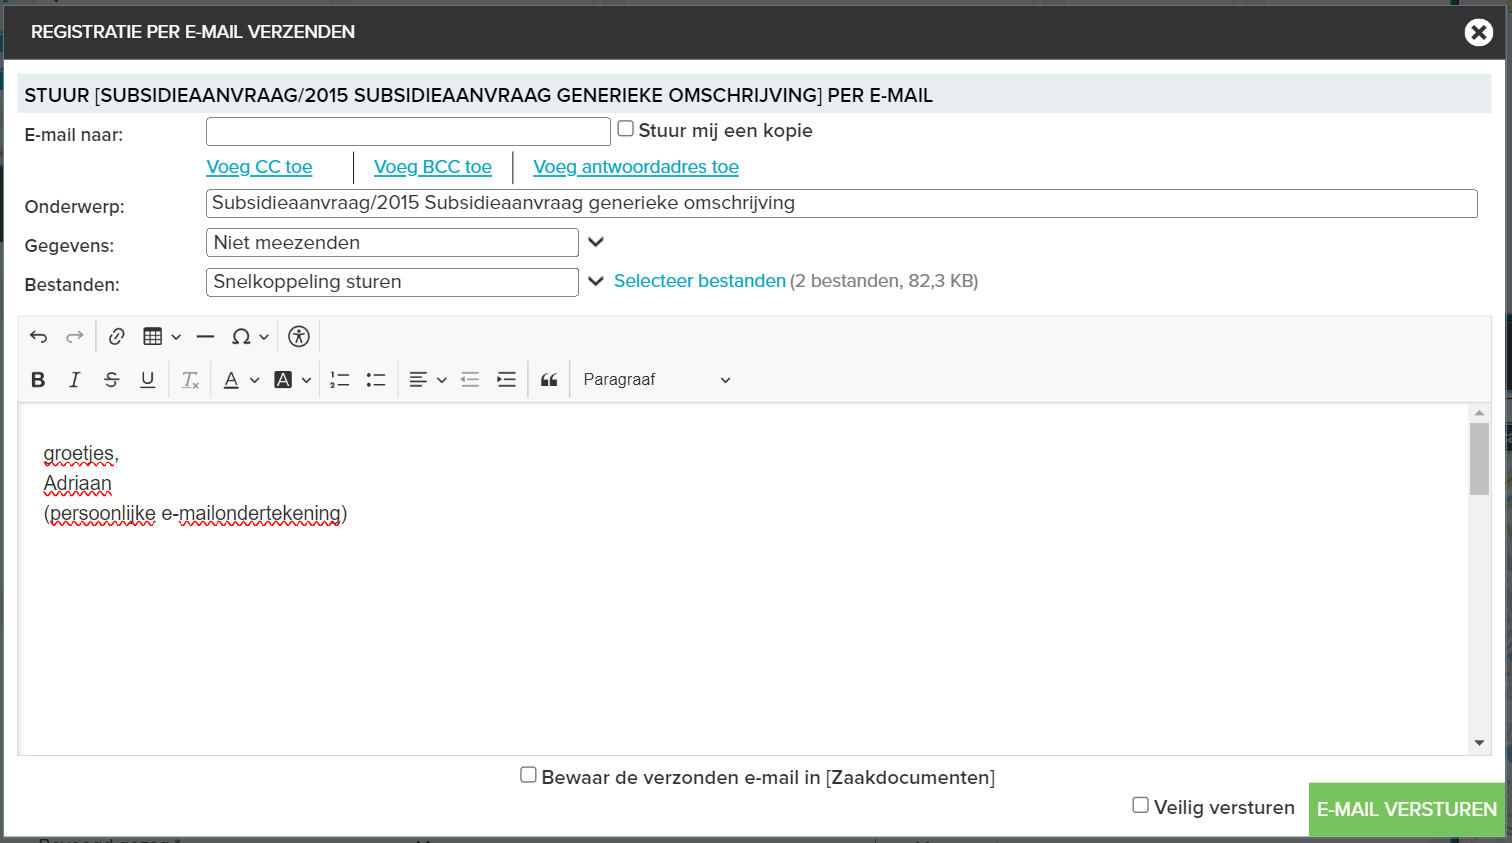
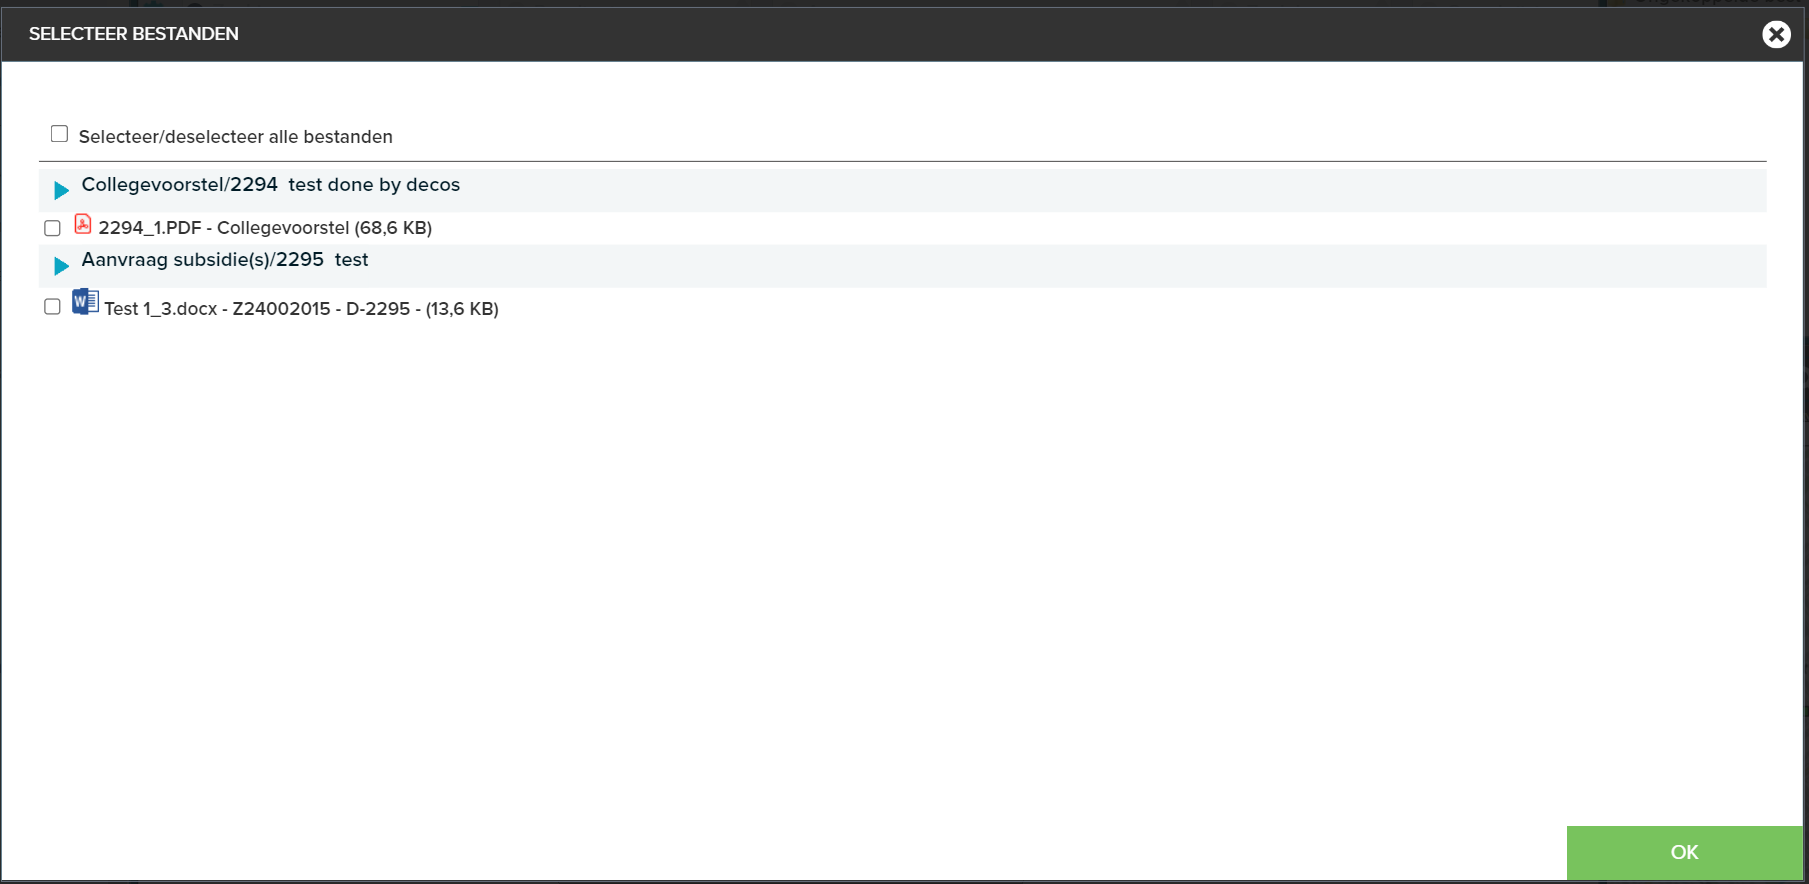
- under files, you can specify if and how you want to send the files. If you are mailing from a dossier or meeting, you can select the files from all linked documents:
- Do not attach files
- Attach files (the physical files are attached. Please note that many mail servers have a limit).
- Attach link to files. Use this feature only when sending mails to internal colleagues.
Then click “select files” to choose the files:
If you want to save the sent mail as an archive-worthy document in JOIN (and add it to a file, for example), you can check the checkbox “save the mail in […]” at the bottom of the page. Your application administrator has set a fixed location where the sent mail will be saved. The check mark will be remembered so you don’t have to check it again next time.

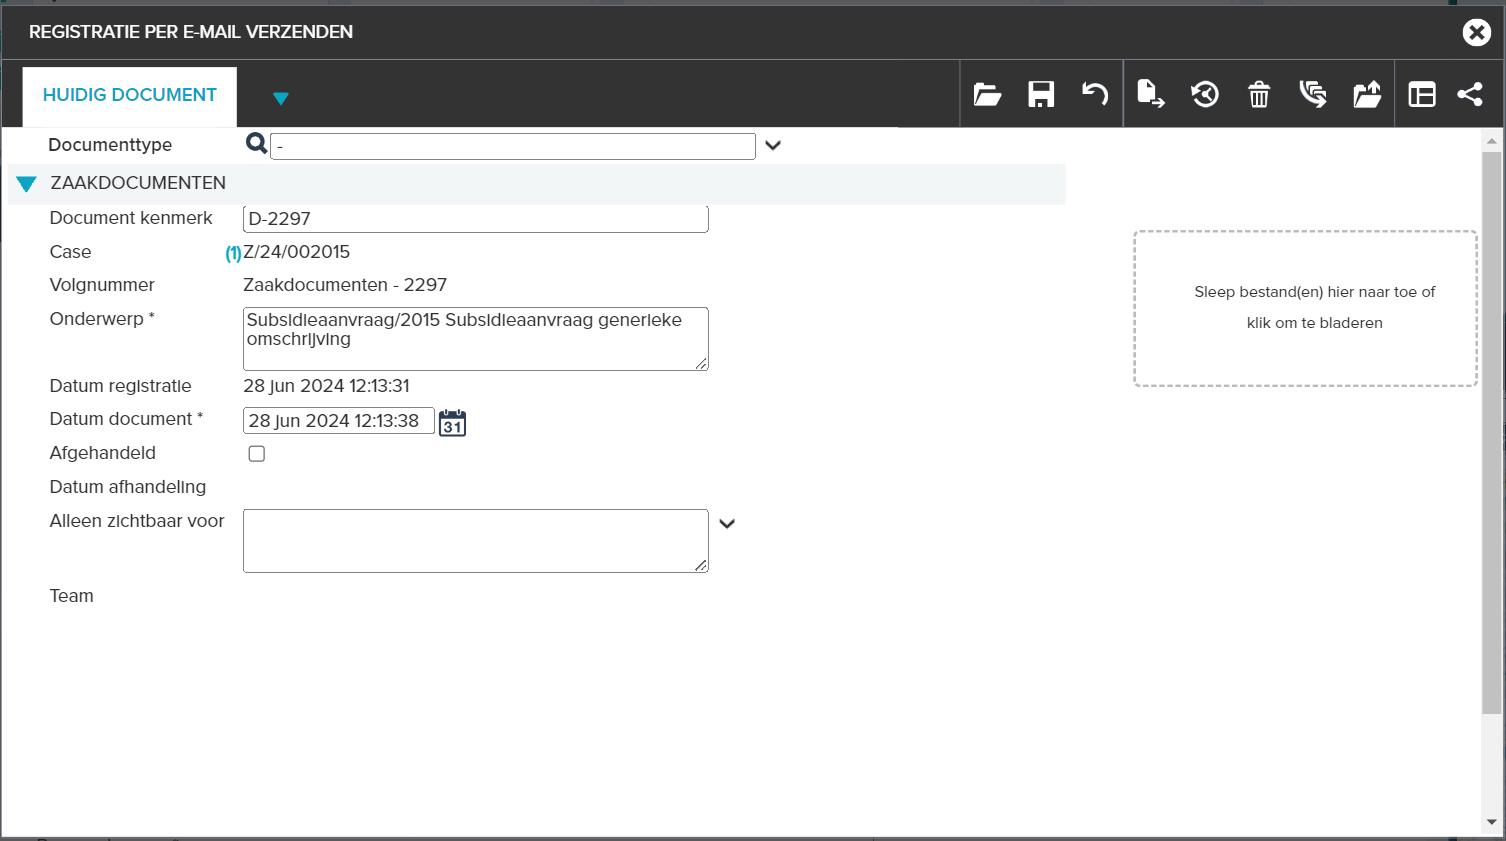
Once you have sent the email (via the  button) a registration screen automatically opens, so you can add the correct data to the sent e-mail. With this you have added the email to the JOIN archive.
If you want to know how your application manager can arrange to save a sent e-mail as an archival document, go to: admin - boekconfiguratie
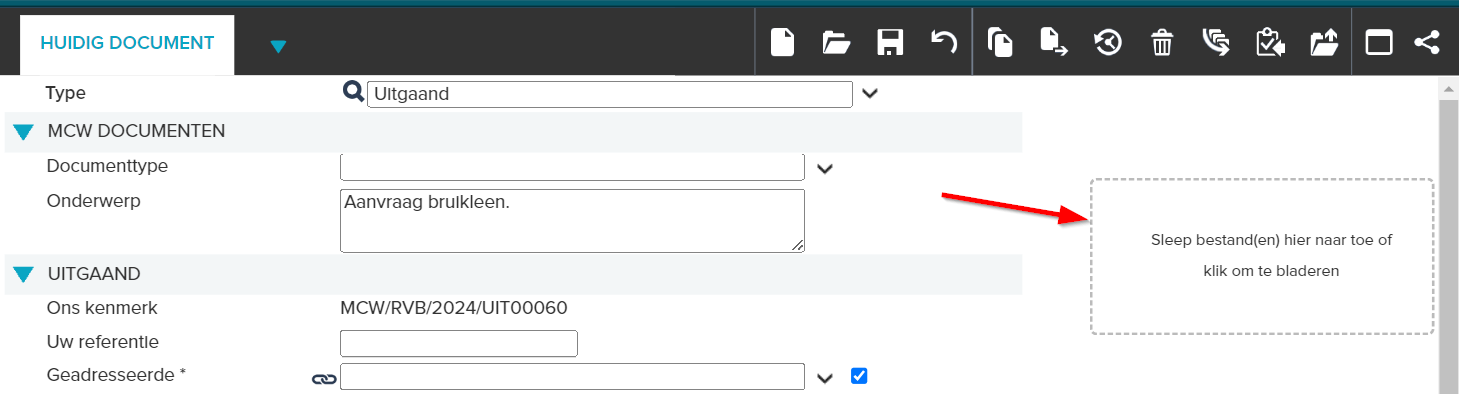
¶ Dragging files (drag & drop)
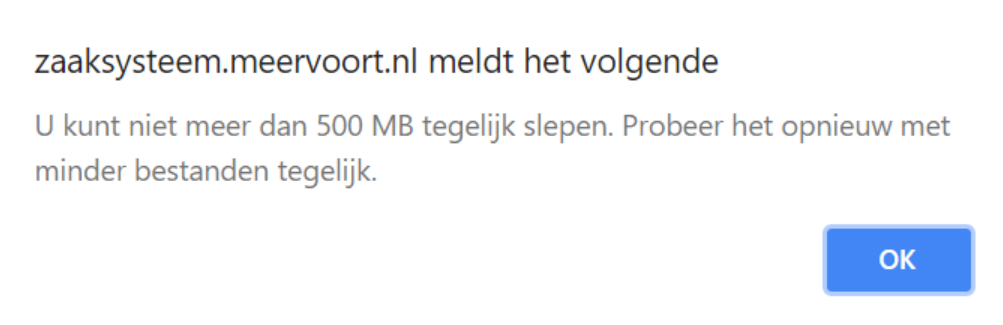
In the document screen you will find the drag window on the right. Here you can drag and drop files so that they are uploaded to JOIN Case & Document. The amount of files and the total size of the files can be set by the administrator in the config editor. If you exceed this limit, a warning will be given and the upload will be stopped immediately.
warning:
- Address books (the books ‘natural’ and ‘not natural’ persons)
- Contacts
- Documents
- Files