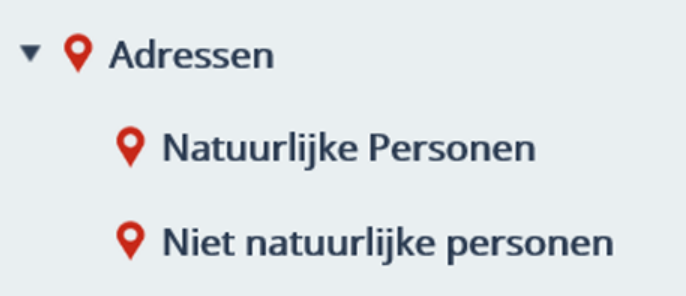
¶ Address books
JOIN Case & Document offers you the possibility to manage your relationship file effectively. You can create different address books, add, change or delete addresses, add contacts, link addresses to documents, files, etc.
¶ Registering address
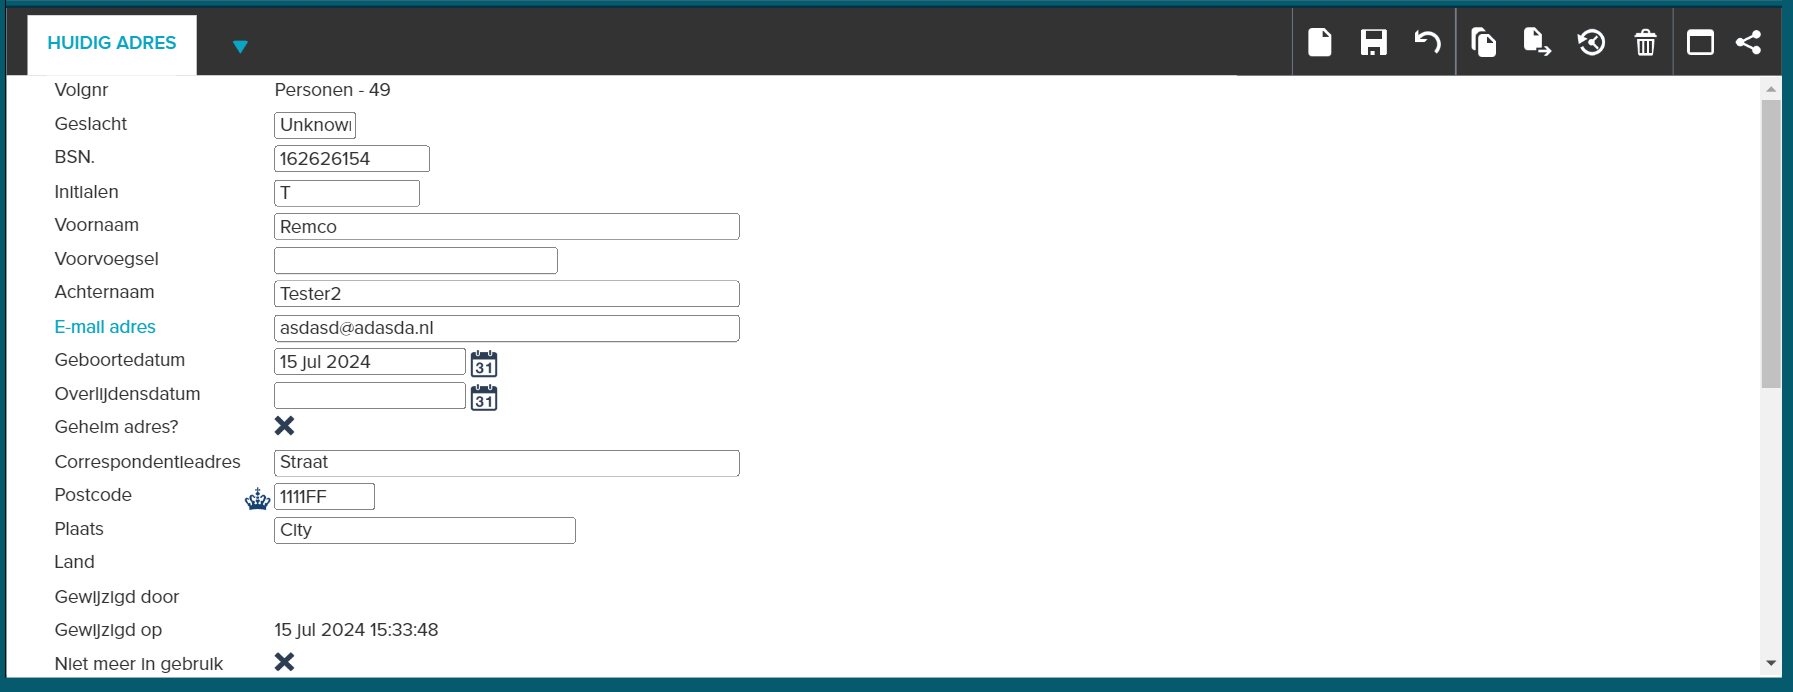
- In the Menu, open the Registrations -> Address books pane. Then choose the correct address book and the contents of the book will be displayed in the List;
- Make sure that the Current Address tab is displayed in the Registration screen and select ‘New’ in the toolbar;
- The fields that you will see are defined by your application manager, they may differ from the image above;
- Enter the desired data per field;
- If your organization uses the Postcode table, you will see a logo for the Postcode field (from PostNL or BAG, depending on the table your organization uses). You do not have to enter the full address, but you can enter the postcode and house number in the Postcode field. If you then click the Tab key or press Enter on your keyboard, the street name and city will be automatically filled in with the correct spelling;
- Fill in the other details and click on Save;
- The address details are now registered.
If you create a new address that already exists in the same address book, you will receive a warning that the relevant data is already present. This prevents duplicate addresses in the address book.
¶ Setting rights per address
Your application manager has indicated per user whether they can assign registrations to others. A user for whom this right is activated will see an extra field “Only visible for” under a registration. In this field, the users or user groups that are allowed to view the address can be selected from a drop-down list. If nothing is entered here, everyone who has rights to this address book can see the new registration.
¶ Changing address details
To change an address record, open the appropriate address book. Select the address in the List and then you can change the data in the Registration screen. Then click on Save to save the modified data.
¶ Email address details
You can send address data directly by e-mail from JOIN.
- Select the address you want to send so that the data is visible in the Registration screen;
- Click on E-mail in the toolbar of the Registration screen;

- In the email screen that appears, enter the correct email address;
- If desired, you can CC or BCC the message and also enter a reply address;
- The Decos book and serial number are automatically displayed in the subject field. This can be changed manually;
- At Data you can choose between the data you want to send. The option All registration data sends all data from the Registration screen. You can also choose to email the sequence number and description or to email a shortcut;
- At Files you can indicate whether you do not want to send the linked files, if you want to attach them or if you want to send a shortcut. Behind the selection field you can click on Select files to optionally make a selection from the available files;
- Enter the desired text in the text field;
- If desired, the outgoing message can be saved in JOIN. Then place a check in front of Save the sent e-mail;
- Click on Send e-mail;
- The email screen will close automatically after you send the email. If you choose Cancel, the screen will close without sending the message.
¶ Adding notes
Notes or information pertaining to an address for which no field has been created can be entered under the Notes tab. You can find the tab next to that of Current Address. By clicking on it, the following screen appears:
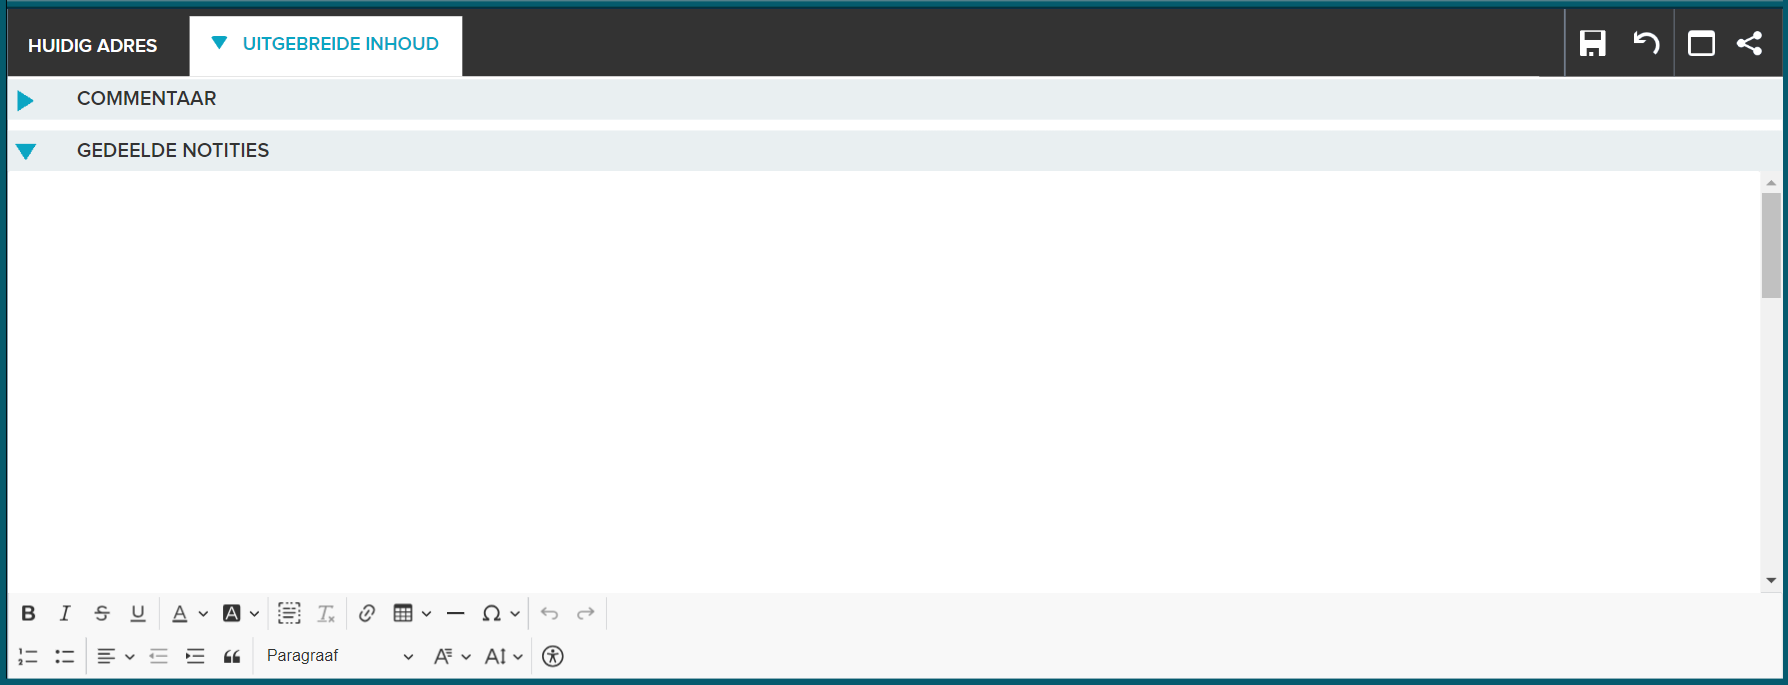
- type the information in the text field;
- Optionally add formatting to the text by using the buttons at the top of the tab;
- Click Save to save the additions.
After you save the note, a paper clip will appear on the tab indicating that the tab contains data. If another user selects the address, they will see from the paperclip that there is additional information in the Notes tab.
¶ Assign workflow
If you have the correct rights, you can assign (address-related) workflows to different users.
- In the Menu, select the Registrations pane, then an address book and open an address registration via the List;
- In the Registration screen, go to the Workflow tab (or the Activities tab if you do not have the workflow module);
- Click on New registration if you want to add a manual action and the input screen will appear;
- Fill in the Handler, the action code and other desired fields;
- (If you do not have the workflow module, you can set a Default Route by clicking the Std route button and choosing the correct route;)
- Click on Save to save the data;
- On the Workflow tab you can also choose to manually link a predefined workflow;
- To do this, click on Link workflow;
- In the list that appears, click on the desired workflow;
- The action is automatically assigned to your chosen handler. The action is automatically placed in the active worklist of the handler.
Once you have created an action, a paper clip will appear on the Workflow or Activities tab to show that the tab is in use.
If the workflow module is used within your organization, please refer to the chapter on Workflow for a further explanation of how this function works.
¶ Adding a contact person
In a business relationship with an organization, you probably have one or more people with whom you are in contact. For this reason JOIN has the option of adding the details of contact persons to an address registration.
You want to link an existing contact person to an address registration:
- Select an address book from the Menu via the Registrations pane and open an address registration via the List;
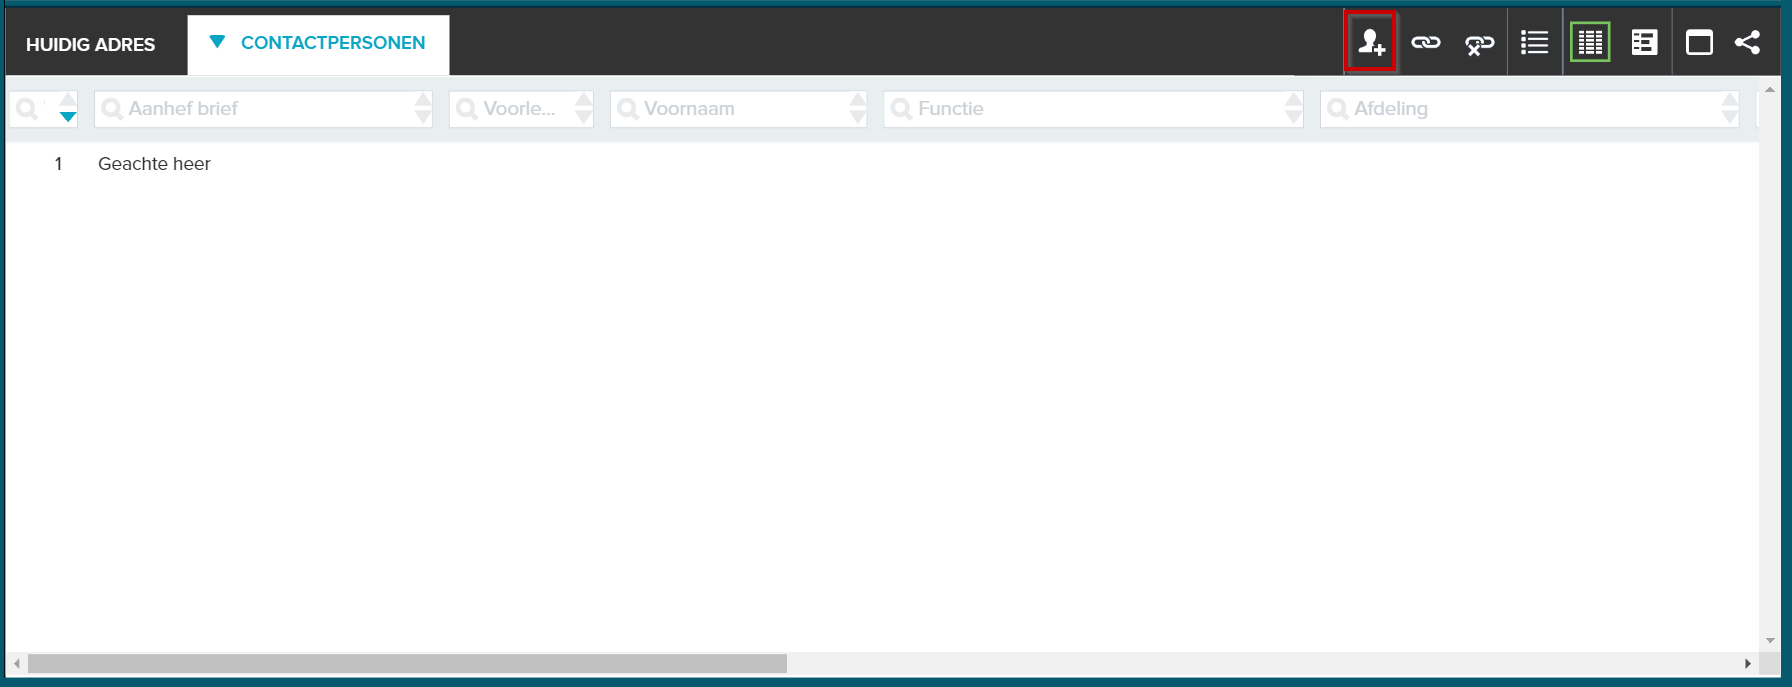
- In the Registration screen, go to the Contacts tab and click Link. The search screen appears;
- Select the desired Contact Book and enter a search term in one of the fields. Press Enter;
- When the desired person has been found, place a check mark in front of the name;
- Above the list of names, click on Link (green tick).
If the contact is not registered, you will not get search results. You can then cancel the search by clicking the Cancel arrow and can create a new Registration.
- Select an address book from the Menu via the Registrations pane and open an address registration via the List;
- In the Registration screen, go to the Contacts tab and click New. The input screen appears;
- Fill in the data per field and click on Save.
¶ Unlinking a contact
To unlink a contact from an address record, do the following:
- Open the correct address registration and go to the Contacts tab in the Registration screen;
- Click on Unlink;
- Place a check mark in front of the contact person and click Unlink (green check mark);
- The contact person is now no longer linked to the address registration, but is still registered in JOIN. You can optionally link the person to another address.
¶ Linking a document
An address is often linked to documents, most frequently to letters. This usually happens when creating a new document registration, but can also be done via an address registration.
If you have selected the Current address tab in the Registration screen, and you see a paper clip at the Documents tab, this means that documents are linked. You can then select the Open file option in the toolbar of the Registration screen. You will then immediately receive an overview of the documents linked to this address. Clicking on the desired document will open it.
If you select the Documents tab, you can also see all the documents associated with the address. In addition, you can create a new link with a document registration or even register a new document from this tab.
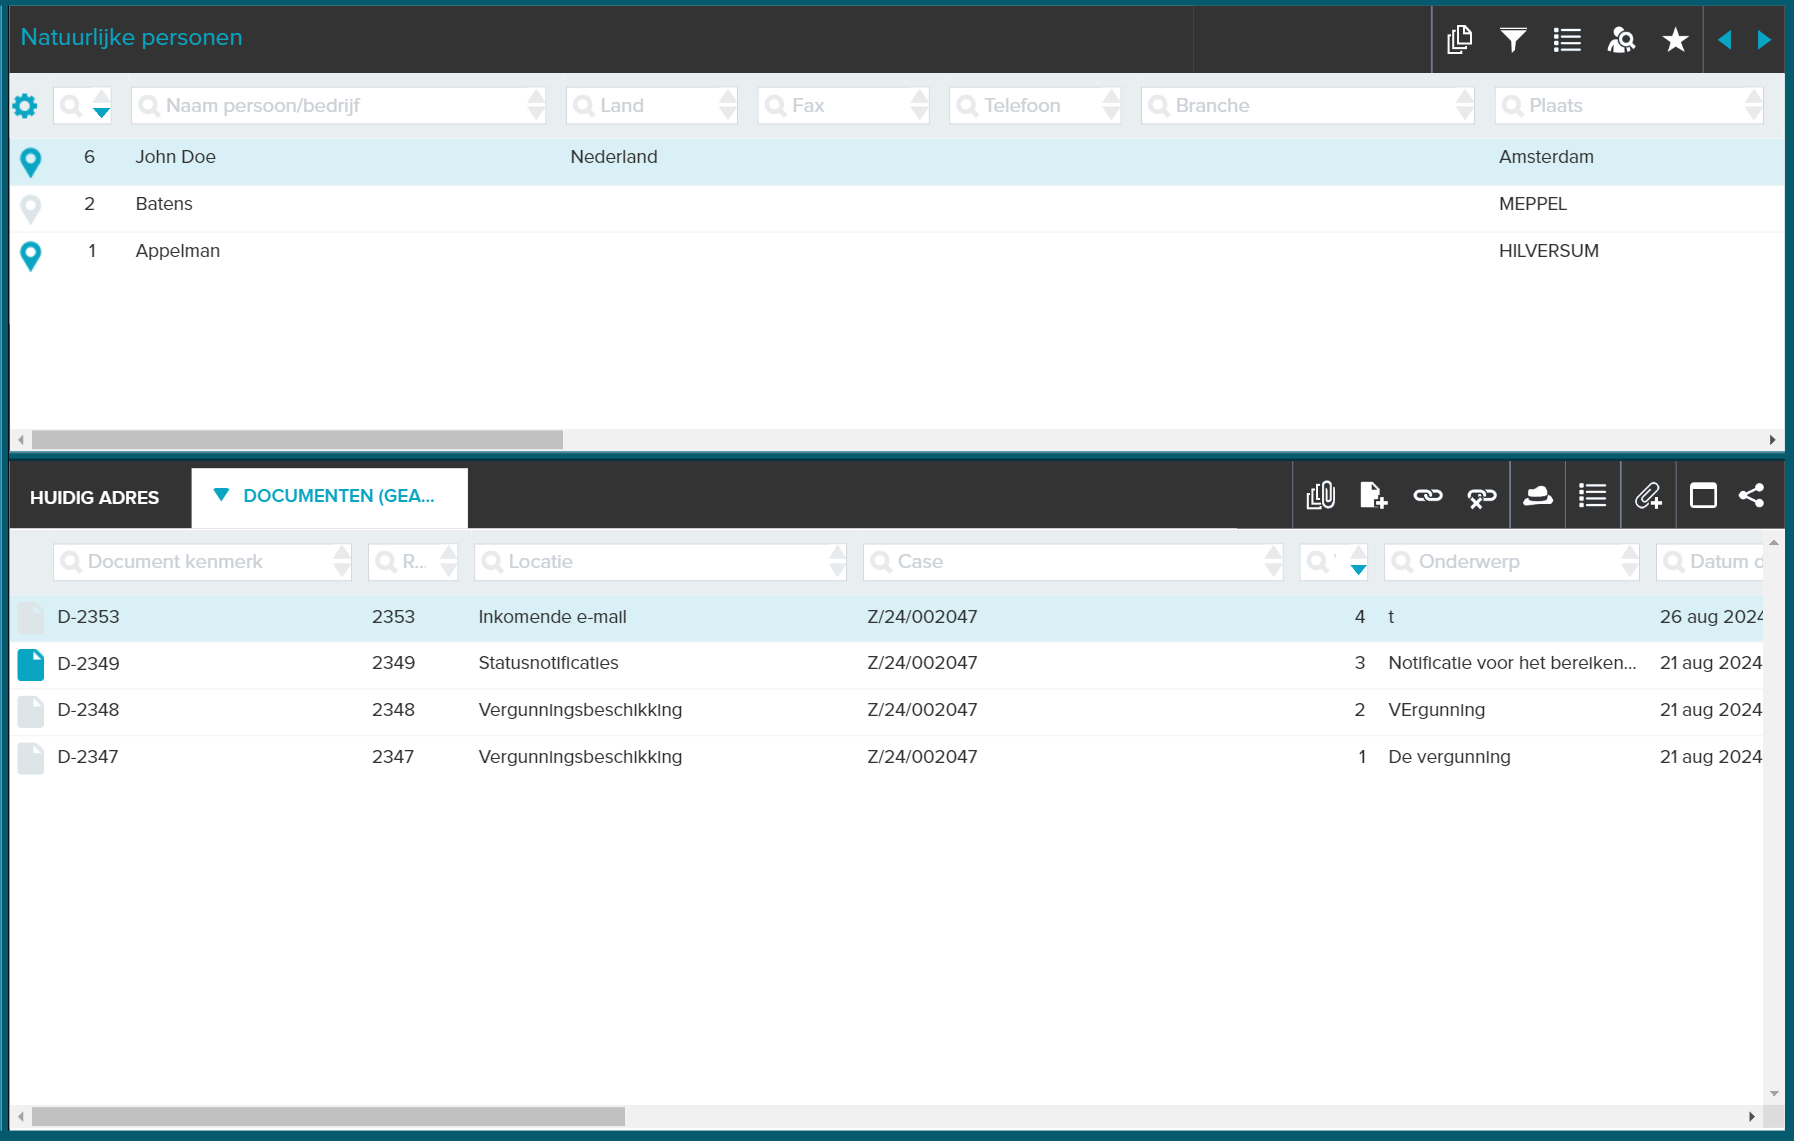
- Open the desired address registration and go to the Documents tab in the Registration screen;
- Make sure you are in the addressee subtab (visible if you are on the tab) and click on Link;
- In the Registration screen, a list of existing document books appears on the left. Open the correct book and then tick one or more documents;
- Click Link (green check mark) to establish the link. A paperclip appears on the Documents tab to indicate that the tab contains data and is therefore in use.
To unlink document registrations, select the Unlink button on the Documents tab. Place a check mark in front of the document to be unlinked and then click the green check mark to unlink. You will unpair the link in this way; the document registration remains.
To create a completely new document record from an address record, click New instead of Link and then select the document book in which you want to create a new document. Once the new document record has been saved, it is linked to the address.
¶ Linking a dossier
It is possible to link a registration to a dossier in JOIN from the address book. You do this under the Dossiers tab. If you select the tab, you will get an overview of the available dossiers. You can also create a new link with a dossier registration or register a new dossier.
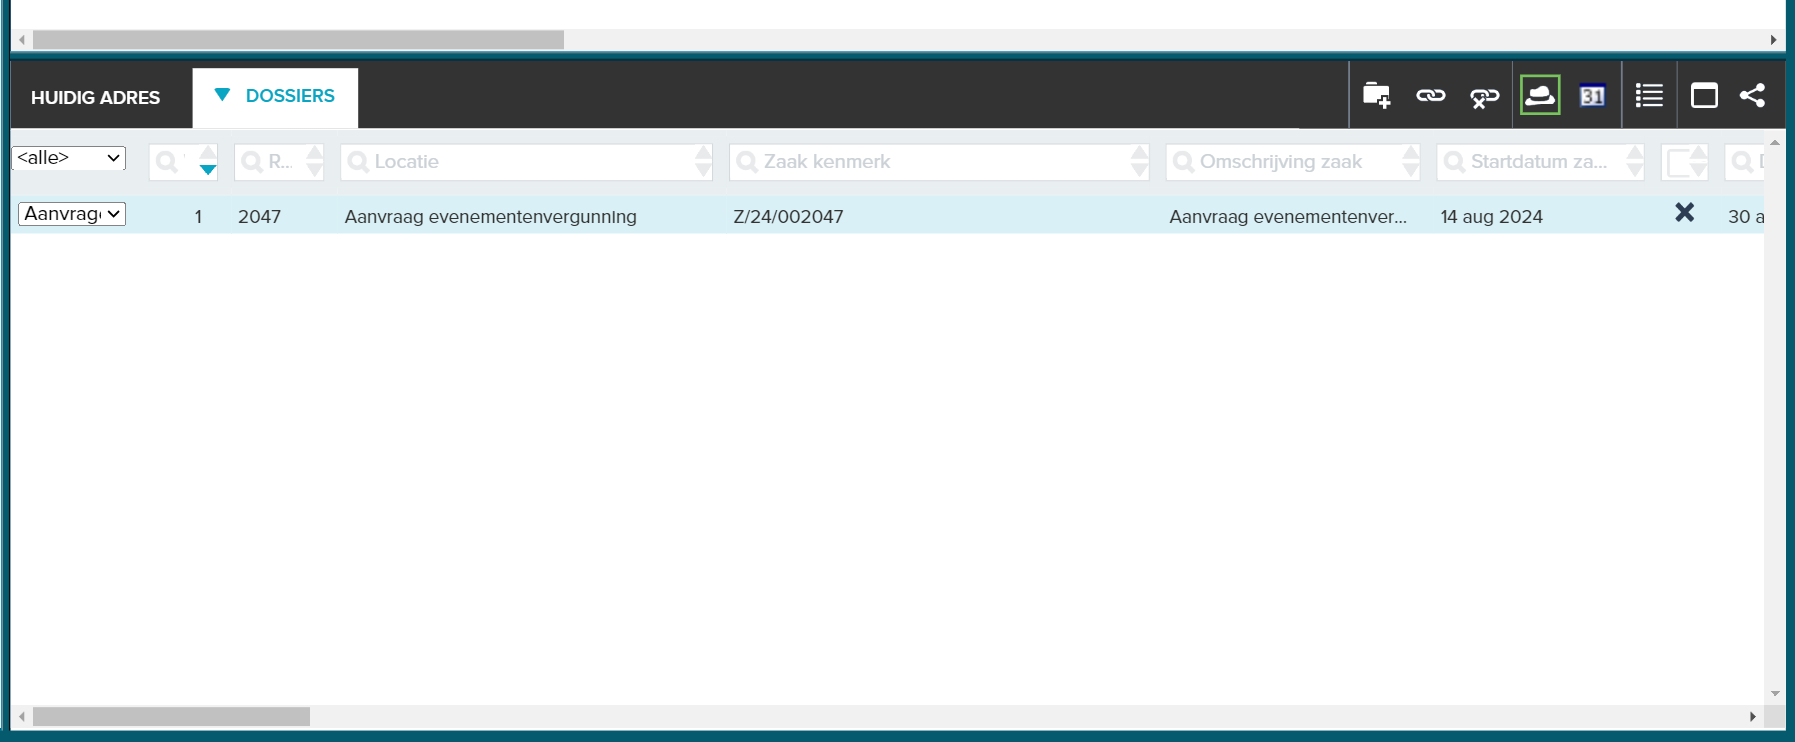
- Open the desired address registration, go to the Dossiers tab in the Registration screen and click Link;
- In the Registration screen, a list of existing dossier books appears on the left. Open the correct book and then tick one or more dossiers;
- Click Link to establish the link;
- The selected dossier registrations are now linked to the address registration. A paperclip appears on the Dossiers tab to indicate that the tab contains data and is therefore in use.
You can unlink dossier registrations in a similar way. To do this, use the Unlink button.
To create a completely new document registration from an address registration, click on New instead of Link and then select the dossier book in which you want to create a new dossier. As soon as the new dossier registration has been saved, it is linked to the address.
¶ Adding a mailing code
Mailing codes are used to create address files from addresses of the same type. For example, you can give the addresses of your employees the staff mailing code, which makes it considerably easier to mail the staff bulletin to all staff members.
You can link an address record to more than one mailing code. You use the Mailing Codes tab for this.
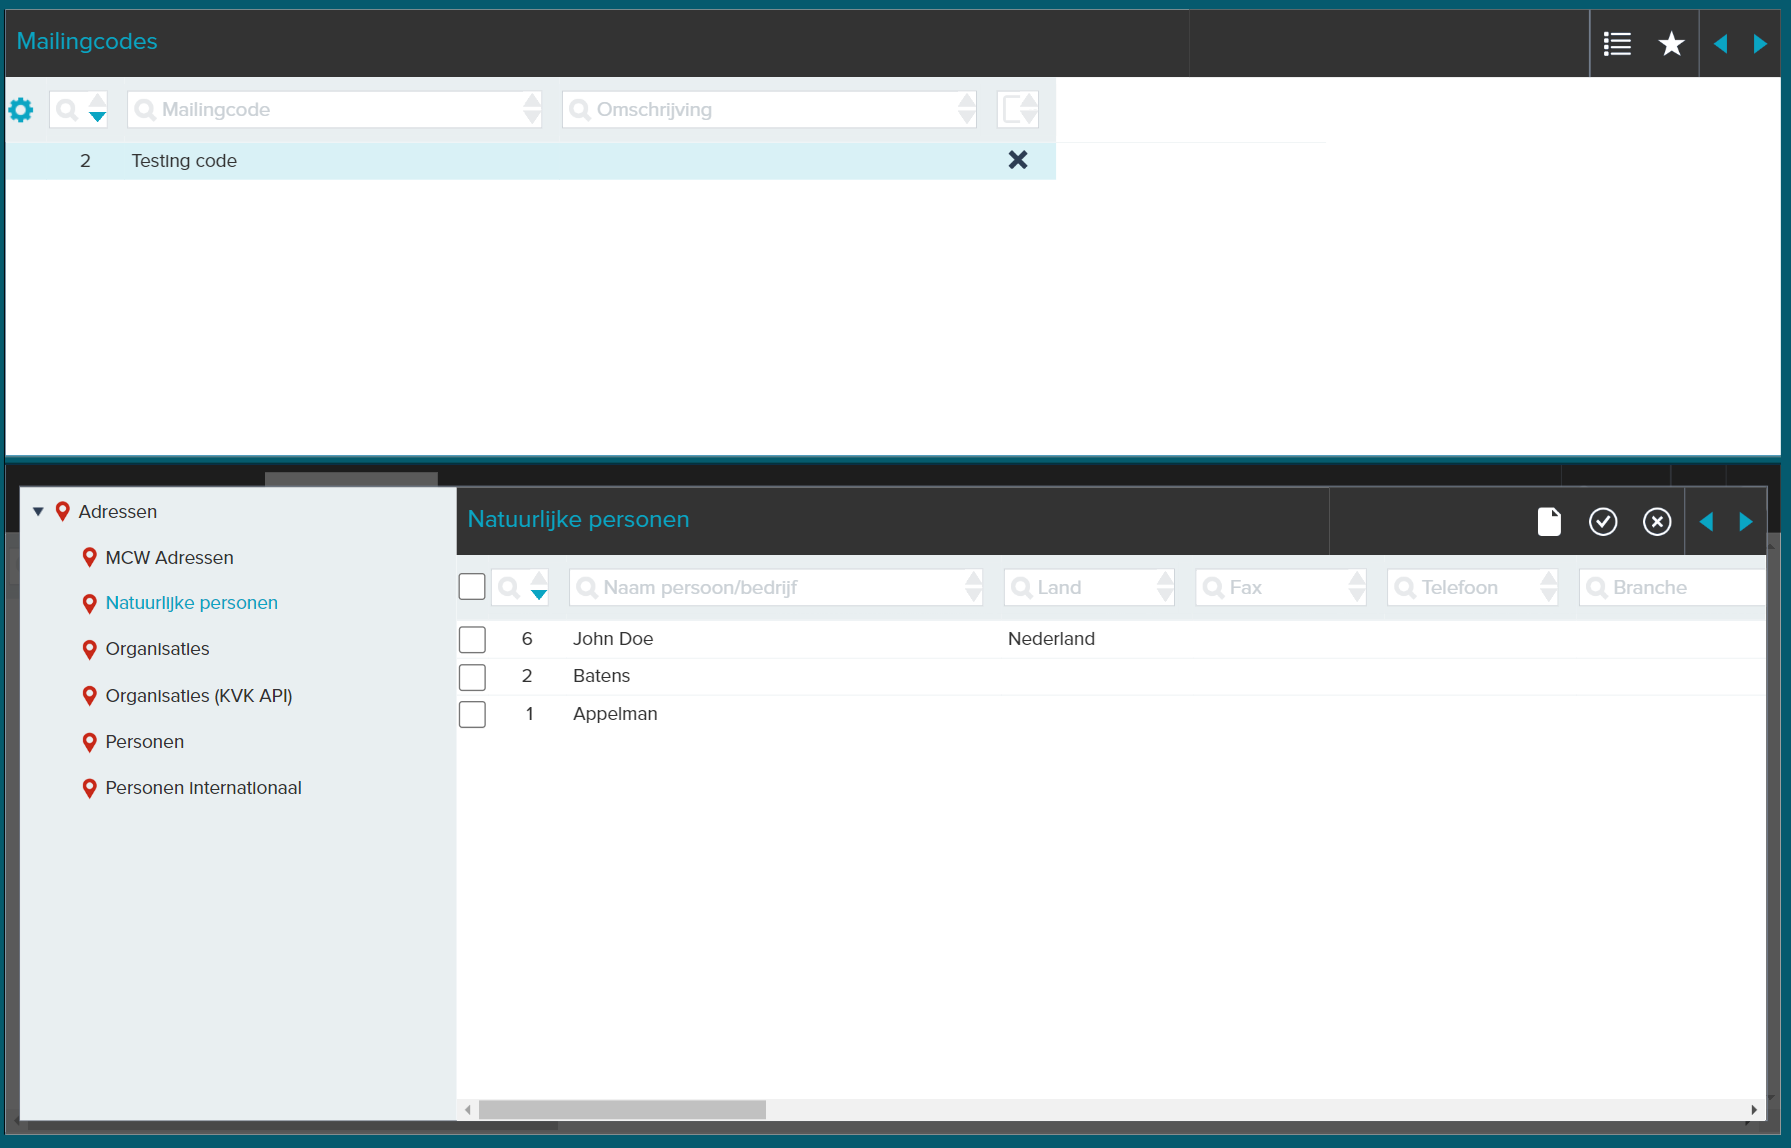
- Open the desired address registration, go to the Mailing Codes tab in the Registration screen and click Link;
- A list of existing mailing codes will appear in the Registration screen. Check one or more mailing codes and click Link;
- The selected mailing codes are now linked to the address registration.
You can of course unlink mailing codes in a similar way. To do this, use the Unlink button.
¶ Deleting an address registration
You can only delete registrations if you have the rights to do so. These rights are set by the application manager.
- Select the correct address and in the Registration screen go to the Current Address tab;
- Click Delete in the toolbar of the Registration screen;
- As a check, a message appears where you must confirm that you really want to delete the address registration. Click on OK;
- The address registration has now been permanently removed, including the links that were established under the tabs.
If you want to delete the address from your active address book, but want to keep the data including the links, you can archive the address.