With the callback note templates, it is possible to configure templates that can be used when creating a callback note. This allows the callback note to be automatically filled with information and the callback note can even be assigned directly to the relevant colleague, mailbox or department.
¶ Configration Callback Note Templates
The configuration of the callback note template is done in the Management Console.
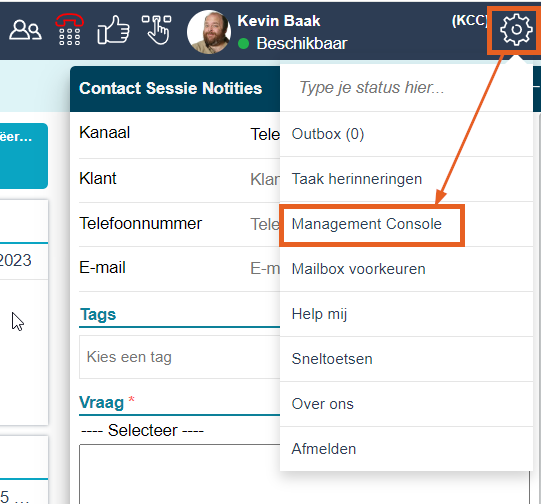
The Management Console can be accessed from JOIN Customer Contact by clicking on the gear icon and then selecting Management Console.
Access to the Management Console is controlled within the privilege sets in Customer Contact Management
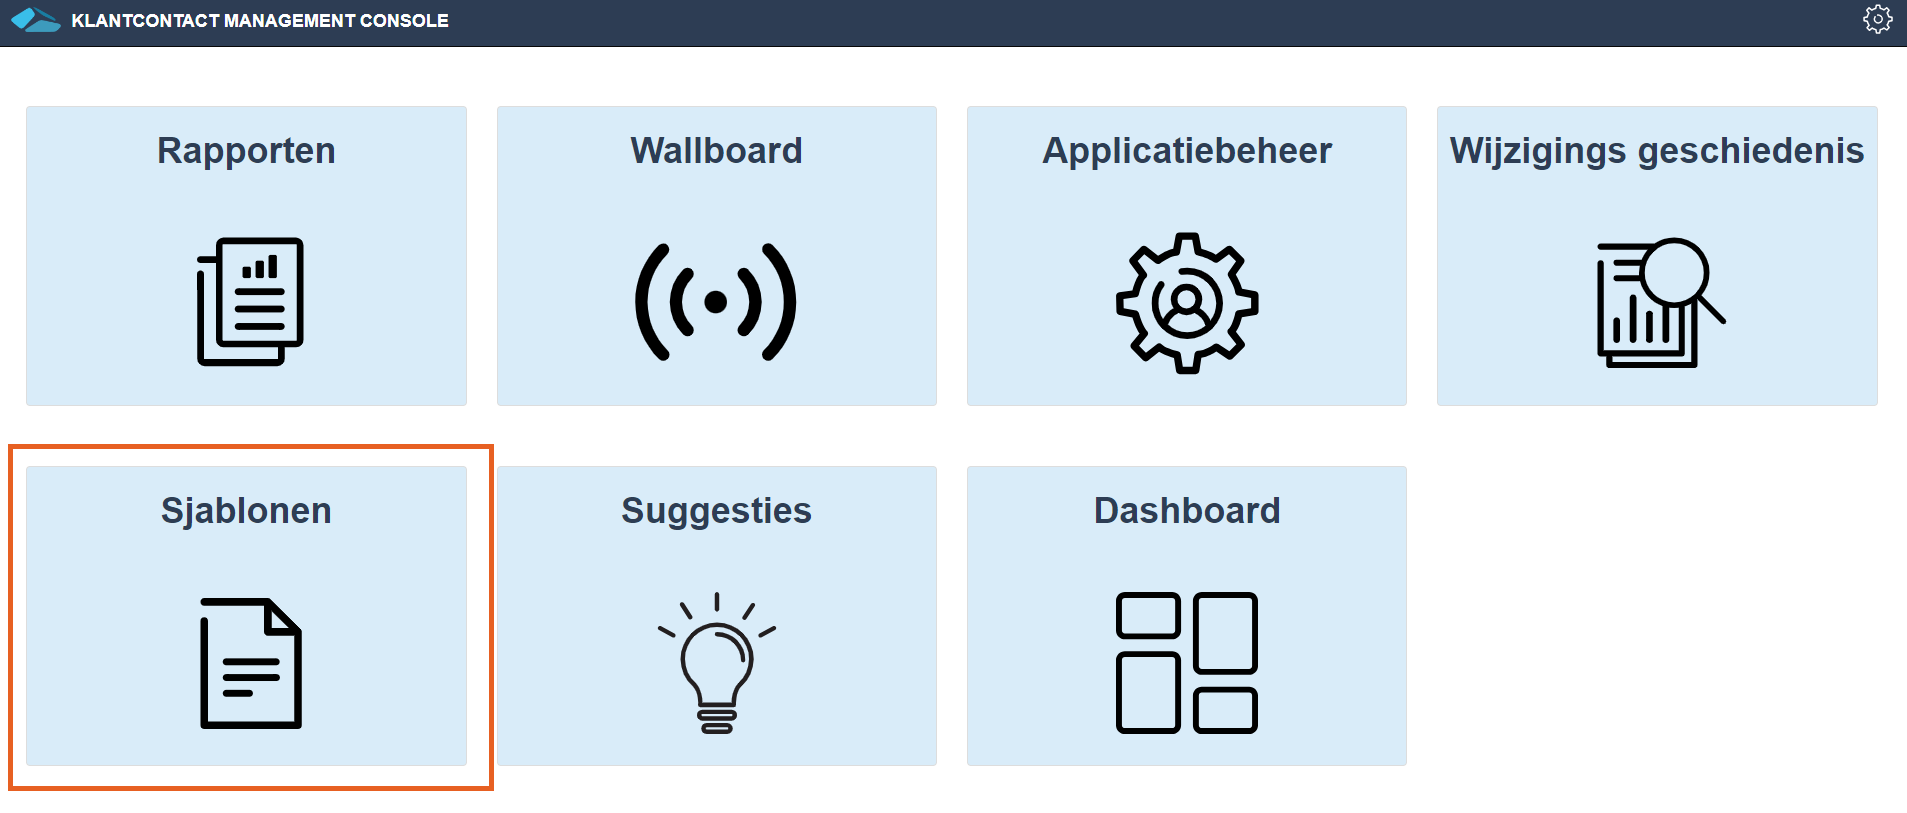
In the Management Console, Templates can then be clicked.
The number of tiles displayed depends on the user’s permissions and may differ from the example above.
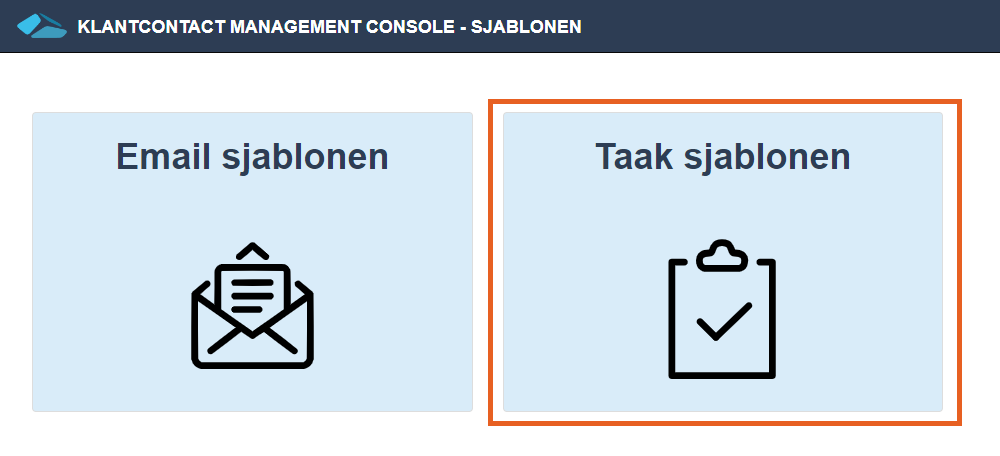
To create (and manage) the callback note templates, you need to choose Task templates.
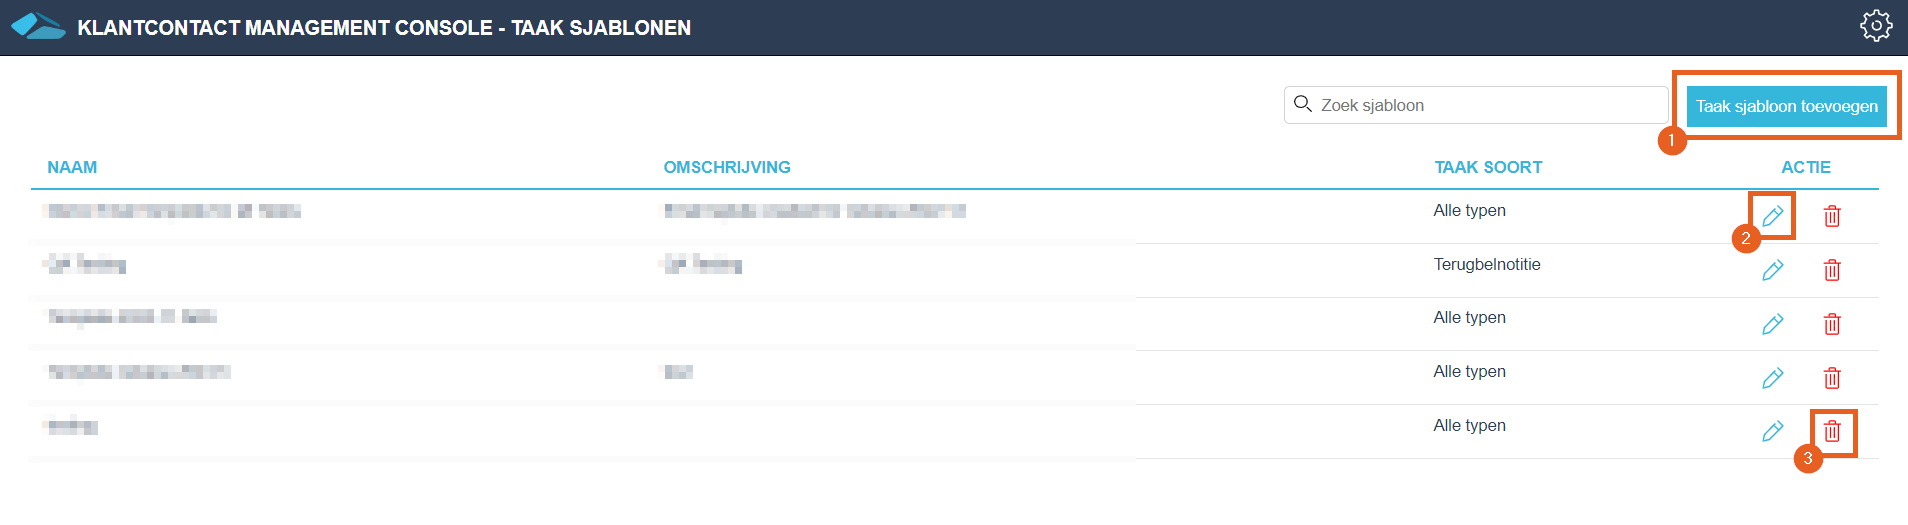
In the task templates screen, the following actions can be performed:
1. Add task template
This option allows a new template to be created.
2. Edit pen
This option allows editing of a template that has already been created.
3. Delete trash
This option allows you to delete a template that has already been created.
By clicking on Add task template a new template can be created.
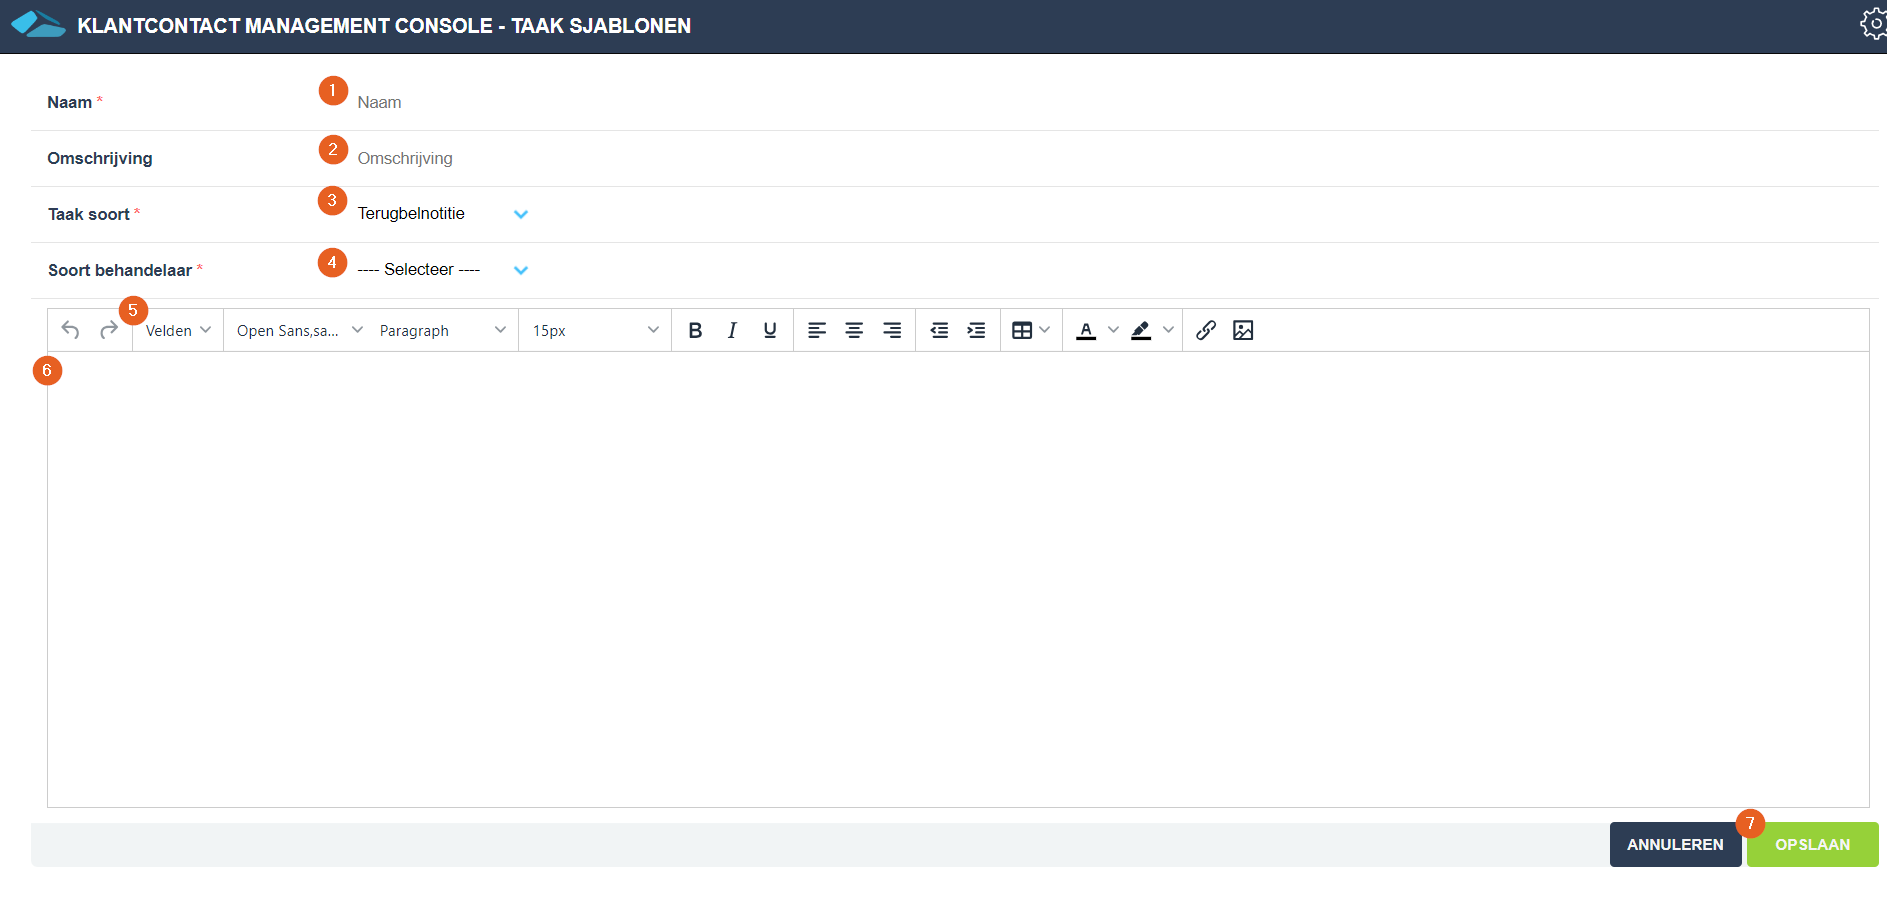
In this screen, the following options are available:
1. Name
This is the name of the template. This is also the name that will appear when selecting the template.
2. Definition
A description of the template can be provided here. This is not a required field.
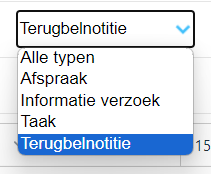
3. Task type
In task type, you can select the type of task for which the template should be created.
In this case, we’ll choose Callback Note.
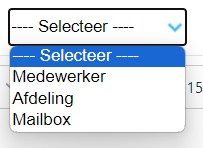
4. Type of practitioner
For the type of practitioner, you can choose the type of practitioner to whom the callback note should be assigned.
After making the choice for Employee, for example, the option to select an employee (or employees) appears. An employee can be found by typing in the first name or last name of the relevant employee and selecting the appropriate colleague from the dropdown list.
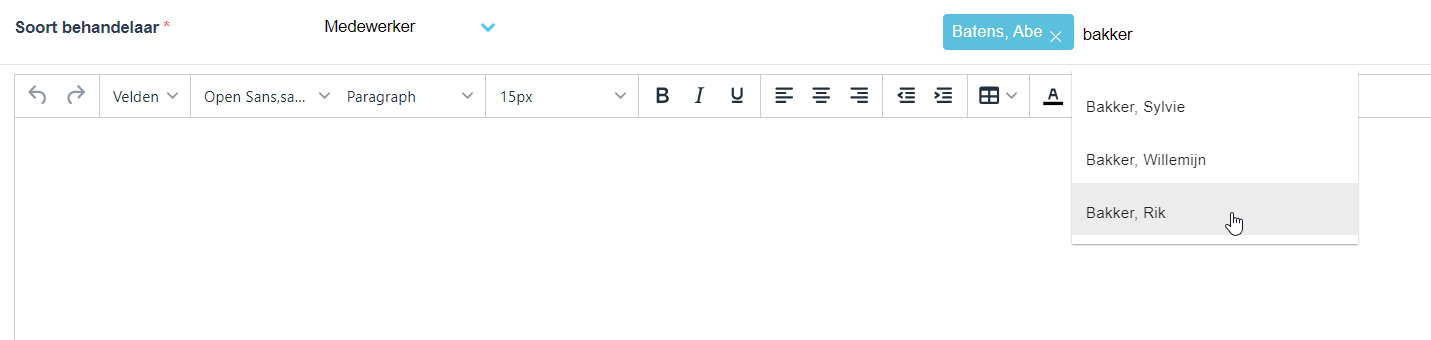
The employees are retrieved from the Active Directory.
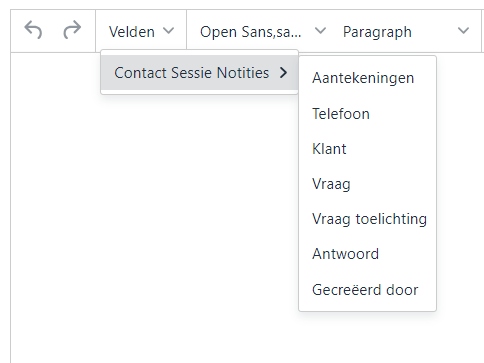
5. Fields
Fields will have a dropdown menu that allows you to add different fields in the template that can be filled automatically from the Contact Session Notes.
Select the desired option from the dropdown to add it to the template.
6. Text box
In the text field, the text required for the template can be entered.
7. Save
When the template is to your liking, the template can be saved by clicking Save.
When configuring the callback note template, keep in mind the formatting of the callback note mail which is configured to avoid duplicate data (such as a phone).
¶ Suggestions
The information below is only relevant when using the Suggestions module.
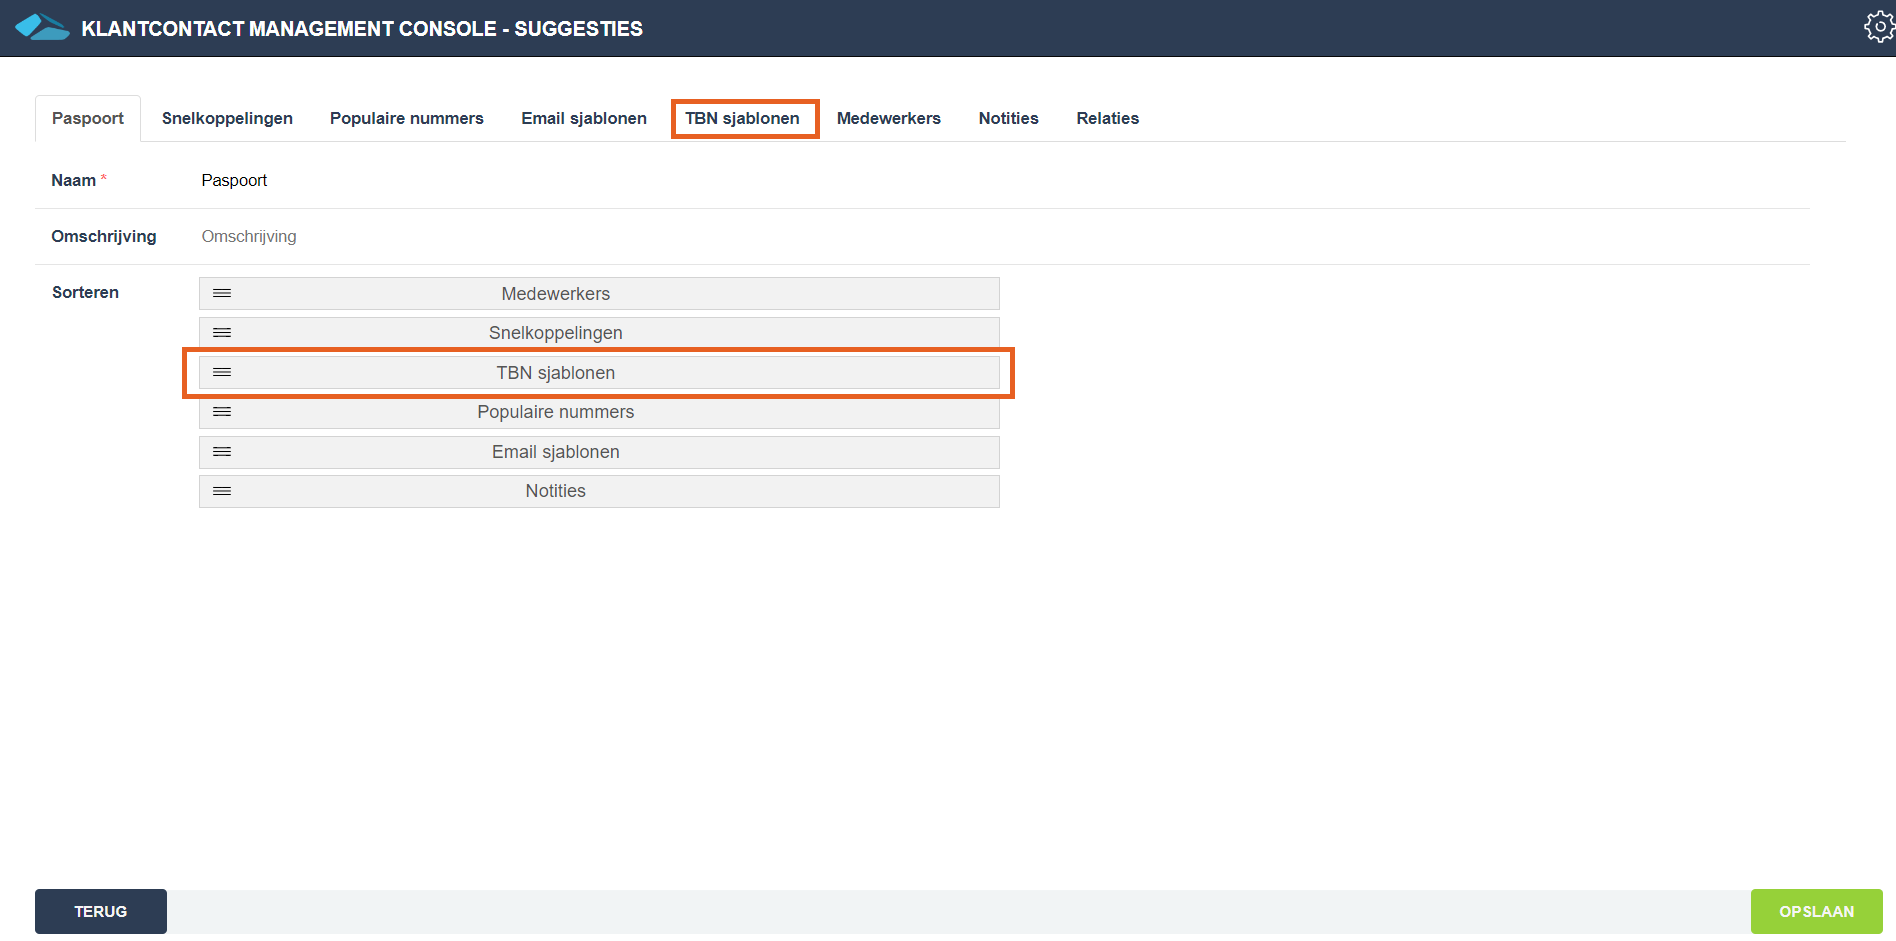
In suggestions, the option TBN templates has been added so that the template can also be linked to a suggestion. A callback note template can be added to a suggestion by first navigating to TBN templates.

Next, a callback note template can be added in the following way:
- Click Add TBN template.
- Under Kies a TBN template, select the relevant template to be linked.
Click SAVE to actually save the changes and add the template to the suggestion.
¶ Using templates in JOIN Customer Contact
The created templates will then be displayed in the Add Callback Note screen.
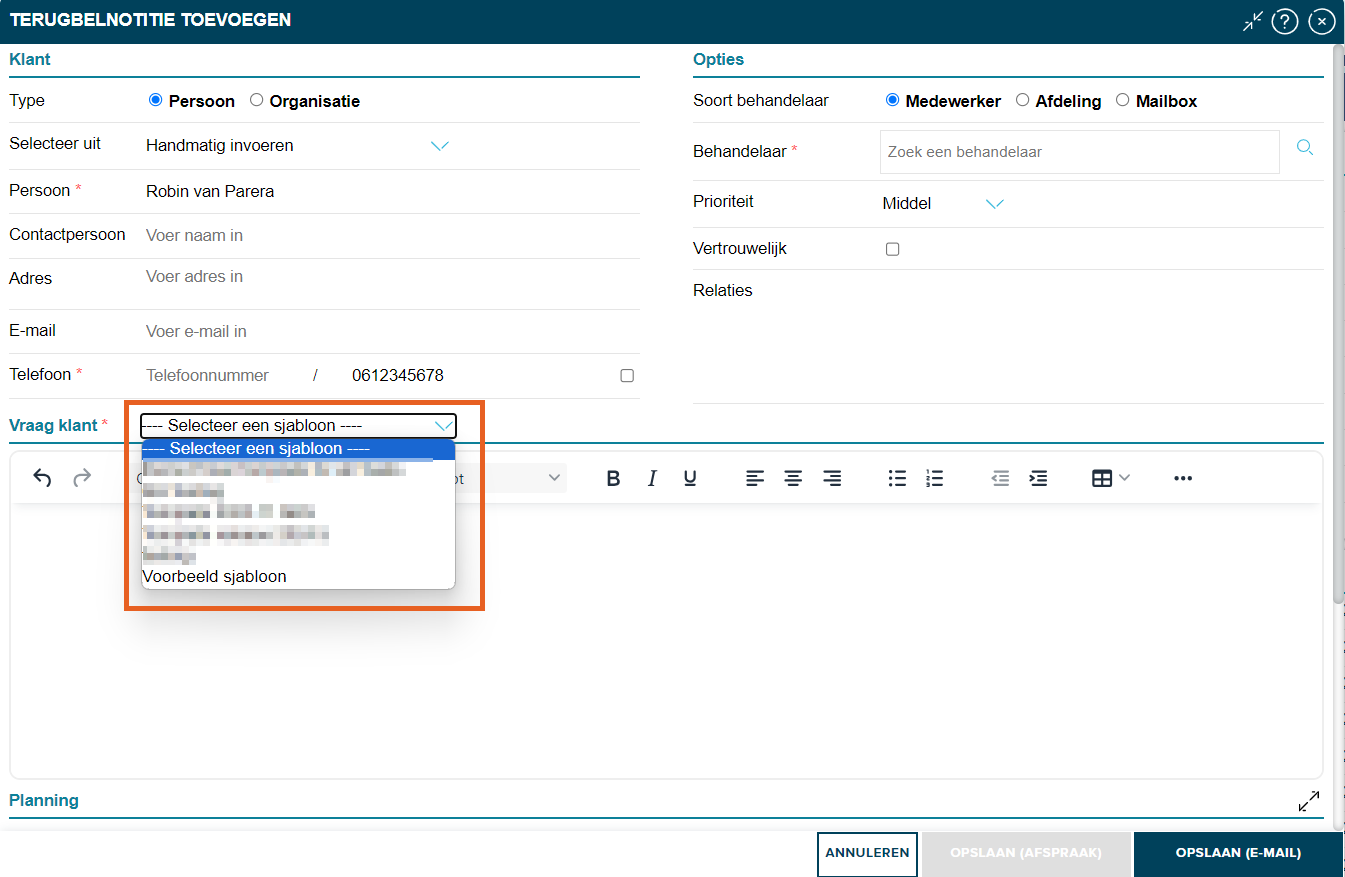
When a callback note template is available, the desired template can be selected under Select a template.
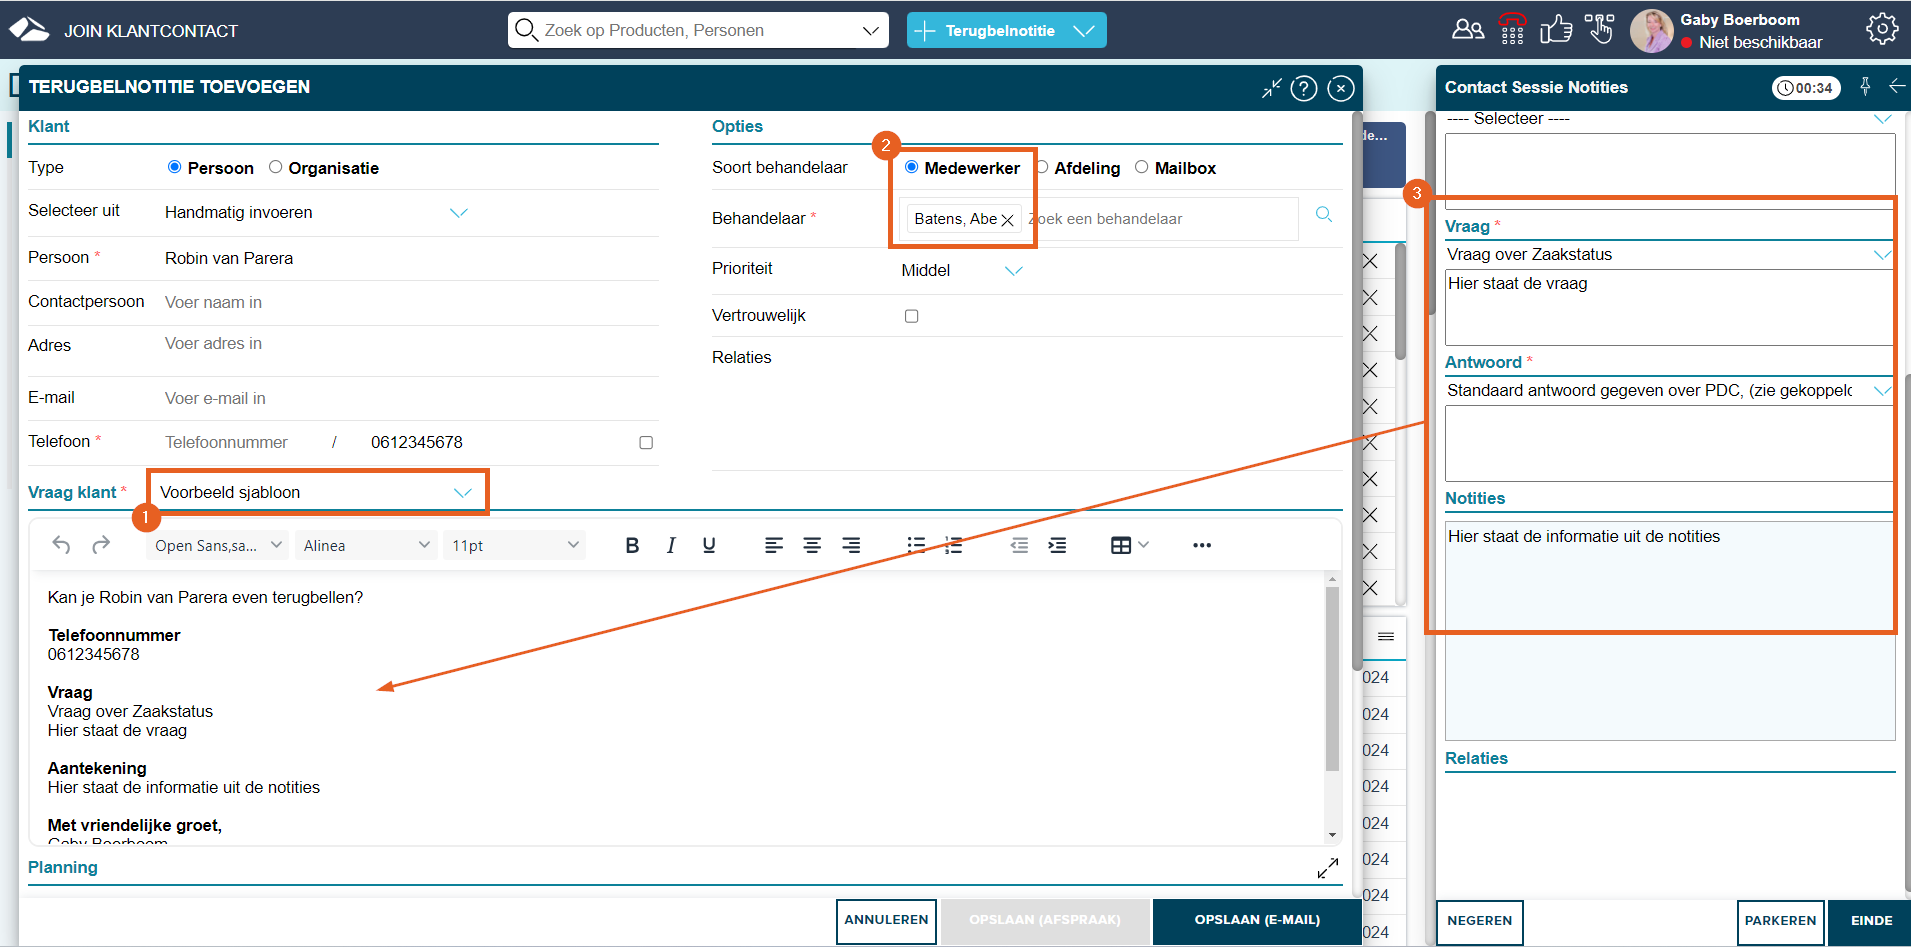
- The chosen template will be displayed here.
- The type of practitioner is adjusted to the type and practitioner configured in the template.
- The fields will be automatically populated with the information entered in the Contact Session Notes.
¶ Suggestions
The information below is only relevant when using the Suggestions module.
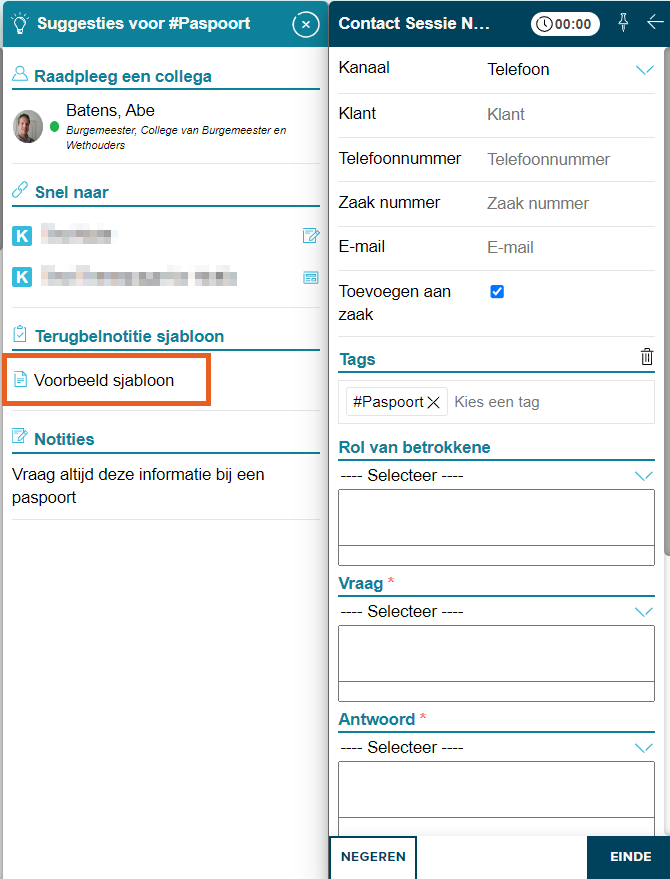
When the suggestion appears in JOIN Customer Contact, the linked template(s) will be shown directly in Callback Note template. The callback note with the template can then be started directly from the suggestion.